


Hi there “Process Automation” fans,
Welcome to a new installment of “Process Automation” tips.
We did testing before (see tag Testing), but also the testing market evolved with great new tools where two of them are (in my opinion) highly interesting to start learning. For this week, we have Gatling Java DSL on the planning; for next week, we’ll pick up on Playwright. Both are great tools, and the beauty is that you can program them both with Java.
Why not k6 (by Grafana) which comes with a great Studio? Well, because I want to have full control over the outcome (which I doubt on “Studio/Recording” tools). AND at heart I’m a Java enthusiast where k6 can only work with JavaScript.
Let’s jump into the head start of working with Gatling with a first setup to run a basic test. After that, we’ll add a next test to (at least) make an authentication call to OTDS, grab a SAML token, and do a call against our OPA solution!
Let’s get right into it…
My first question is where to start? Well, you can call Gatling via Java. This means we can simply create a new Java project in our favorite IDE (mine is the community edition of IntelliJ) where we create a new Maven-dependent Java project:
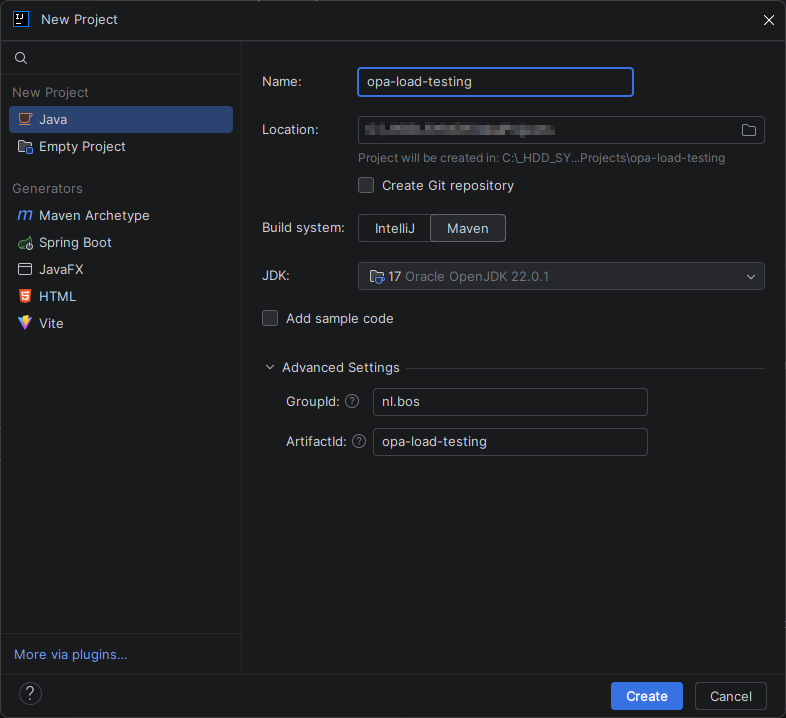
Next step is updating the pom.xml for this project to have the Gatling dependencies available for the project:
1 | <dependencies> |
Once this is in place, you can craft a new Java class like below; I’ll craft it in the ‘test’ sources of the Maven project instead of the ‘java’ sources. This move just feels correct…this is the code-part:
1 | package nl.bos; |
Why does Gatling use an extended
Simulationclass instead of JUnit tests!? A great question, but that’s because Gatling wants to know how the system behaves over a certain amount of time with X number of users. Playwright uses JUnit because it only needs to validate if a function is red or green.
This code will do 10 simple GET requests against your favorite blog site; this happens with 10 total virtual users over 15 seconds with this line of code: rampUsers(10).during(Duration.ofSeconds(15))
That’s a pretty powerful line; now check this table on the impact of requests:
| use-case | code | # of requests |
|---|---|---|
| 10 total virtual users over 15 seconds | rampUsers(10).during(Duration.ofSeconds(15)) |
10 |
| 100 total virtual users spread over 15 seconds | rampUsers(100).during(Duration.ofSeconds(15)) |
100 |
| Start at 1 user/sec and ramp to 15 users/sec, over 15 seconds | rampUsersPerSec(1).to(15).during(Duration.ofSeconds(15)) |
120 |
| Start at 10 users/sec and ramp to 20 users/sec over 15 seconds | rampUsersPerSec(10).to(20).during(Duration.ofSeconds(15)) |
225 |
| 10 users immediately | atOnceUsers(10) |
10 |
| 1 user/sec for 15 seconds | constantUsersPerSec(1).during(Duration.ofSeconds(15)) |
15 |
| 5 users/sec for 15 seconds | constantUsersPerSec(5).during(Duration.ofSeconds(15)) |
75 |
| 10 users/sec for 15 seconds | constantUsersPerSec(10).during(Duration.ofSeconds(15)) |
150 |
| 10 users/sec with randomized arrivals for 15 seconds | constantUsersPerSec(10).during(Duration.ofSeconds(15)).randomized() |
150 |
| Ramp from 1 to 15 concurrent users over 15 seconds | rampConcurrentUsers(1).to(15).during(Duration.ofSeconds(15)) |
depends |
After this quick implementation, you can run your first simulation via PowerShell after moving into the directory space of your new Java/Maven project: .\mvnw.cmd gatling:test "-Dgatling.simulationClass=nl.bos.AppWorksTipsSimulation"
First step is made, and Gatling creates (automagically) a nice report on the results in the target folder of your project:
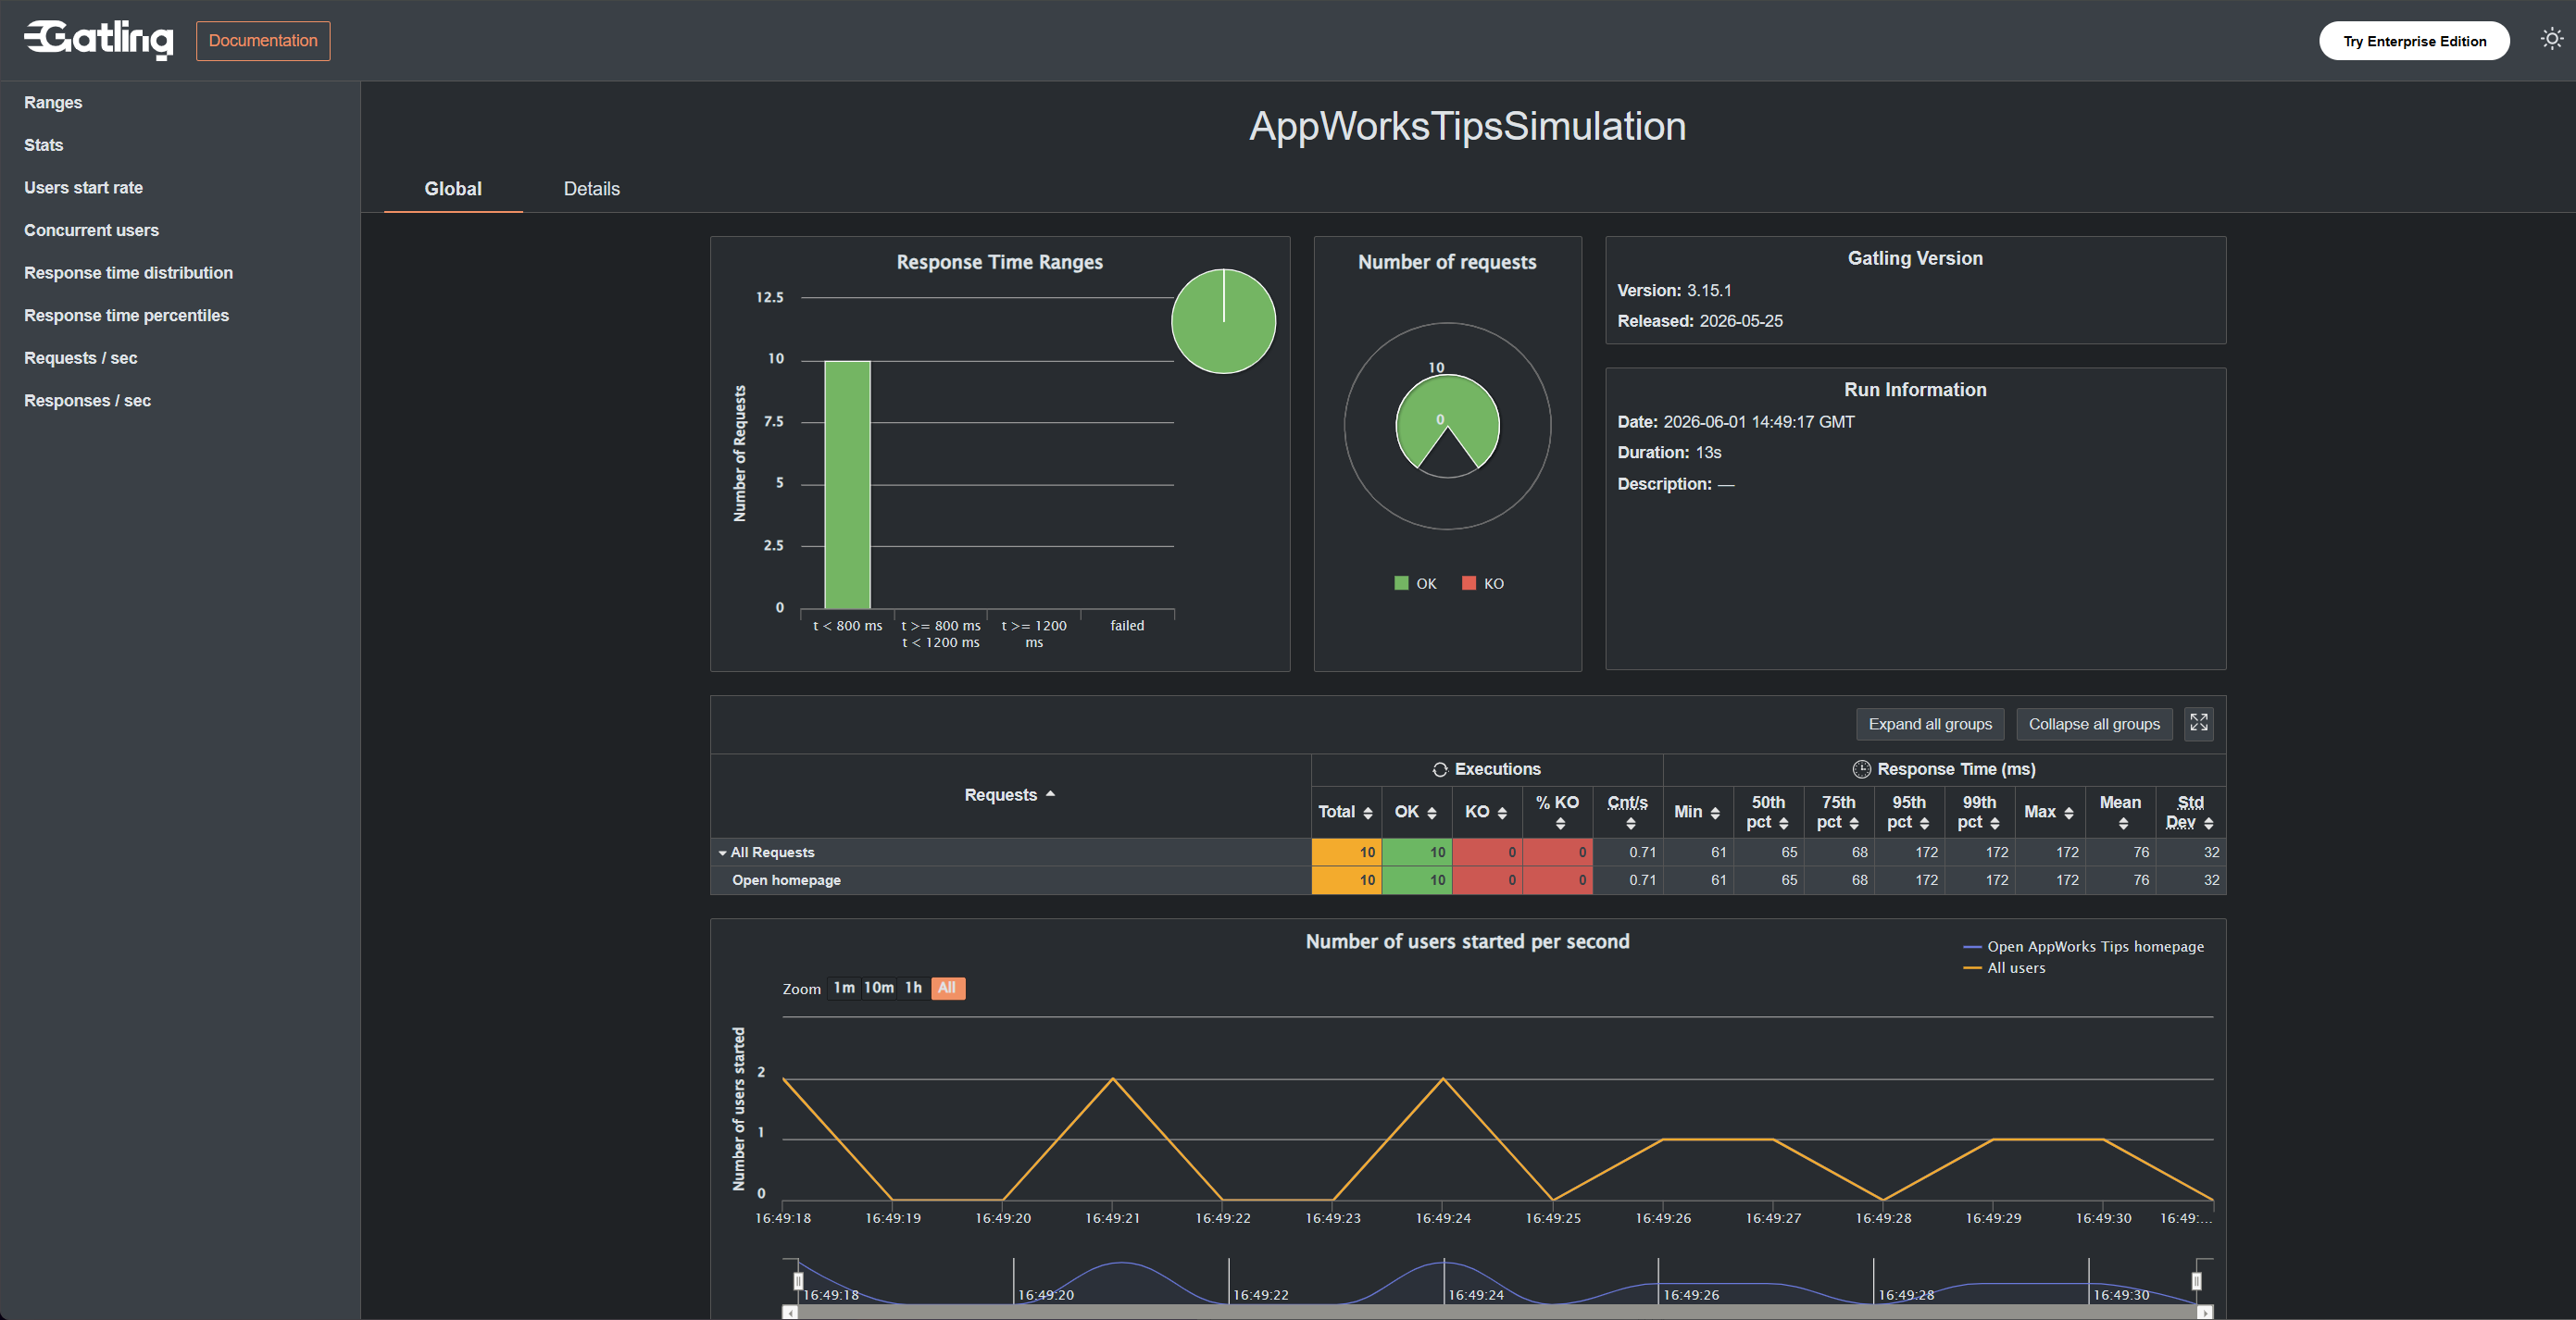
NICEEEEEE! 😍
Time to continue our journey…
The authentication call against OTDS
Now that Gatling is working, we can also do a similar call to our OPA environment. So, boot up your VM and make a small project with a ‘Case’ entity to play with; just a one-prop entity is enough as we’ll use the Typed REST layer (in /app/admin) of the solution to call CRUD operations!
However, before we start, we always need a SAMLart token to communicate with OPA from an external system (our Java/Maven test-project!)
If you want to understand more about authentication against OPA, read this post.
Authentication happens in 2 steps. First, a call against OpenText Directory Services (OTDS) to grab a ‘Ticket’. Second, reuse that ‘Ticket’ to request a ‘SAML artifact’ token for further communication.
See this code-snippet for that first part in the same AppWorksTipsSimulation class:
1 | public class AppWorksTipsSimulation extends Simulation { |
Notes:
- Update the
OTDS_variables for your environment- You’ll find the target resource ID in OTDS (under ‘Resources’)
- Use credentials of a test-account with the proper roles applied for your solution!
- The result is a ‘ticket’ which we print in the console and save “in memory” for the next call
After another run, you should see a valid build with correct (and green) output (incl. a new report to check out):
1 | [INFO] ------------------------------------------------------------------------ |
Mine is green, so let’s move on…
Grabbing a SAMLart value from OPA
The next call is a POST request to the OPA Gateway.wcp endpoint calling SOAP service Request with the correct XML body. Have a look at these parts to add in the AppWorksTipsSimulation class:
1 | //The URL variable |
We again save and show the output. A test run will show this in the console during testing:
1 | Simulation nl.bos.AppWorksTipsSimulation started... |
Great, we’re still green…Now for that next call for your solution!
Create a new case
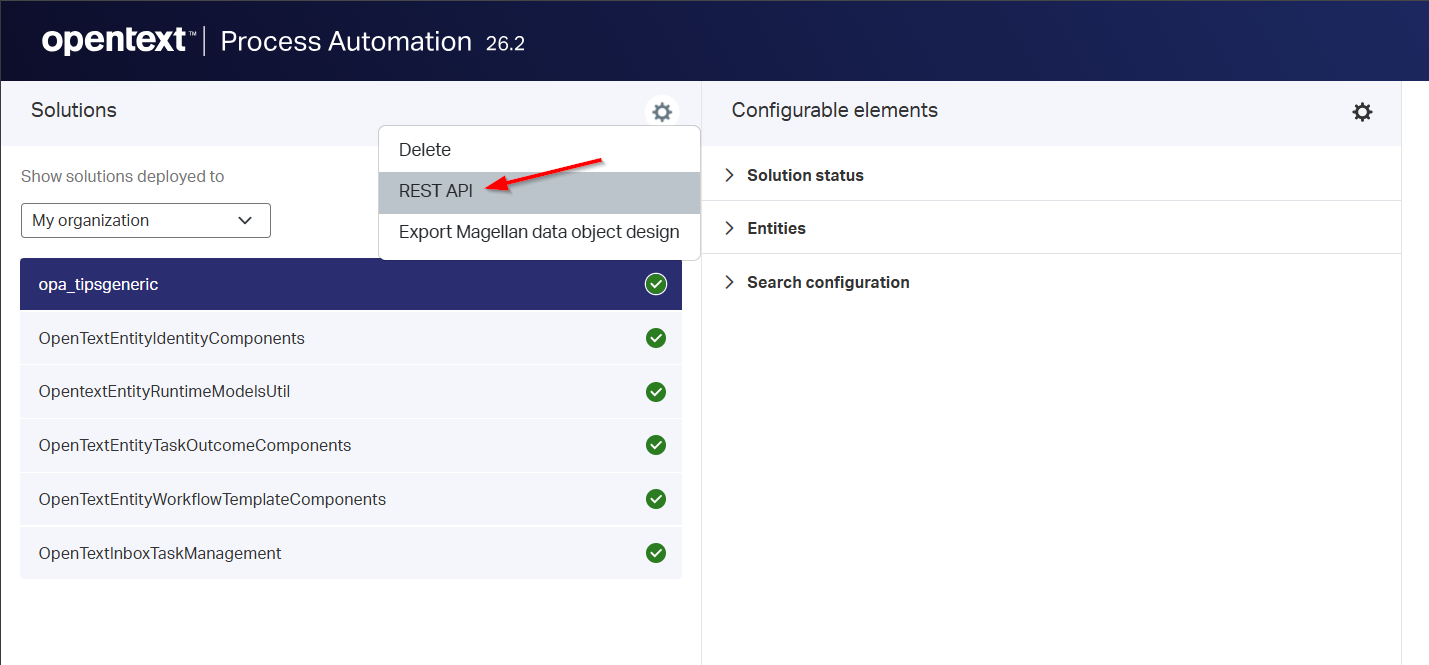
For this one, we use the automagically generated Typed REST services of the solution (our project with a ‘Case’ entity). You can access it via the /app/admin portal of the platform:
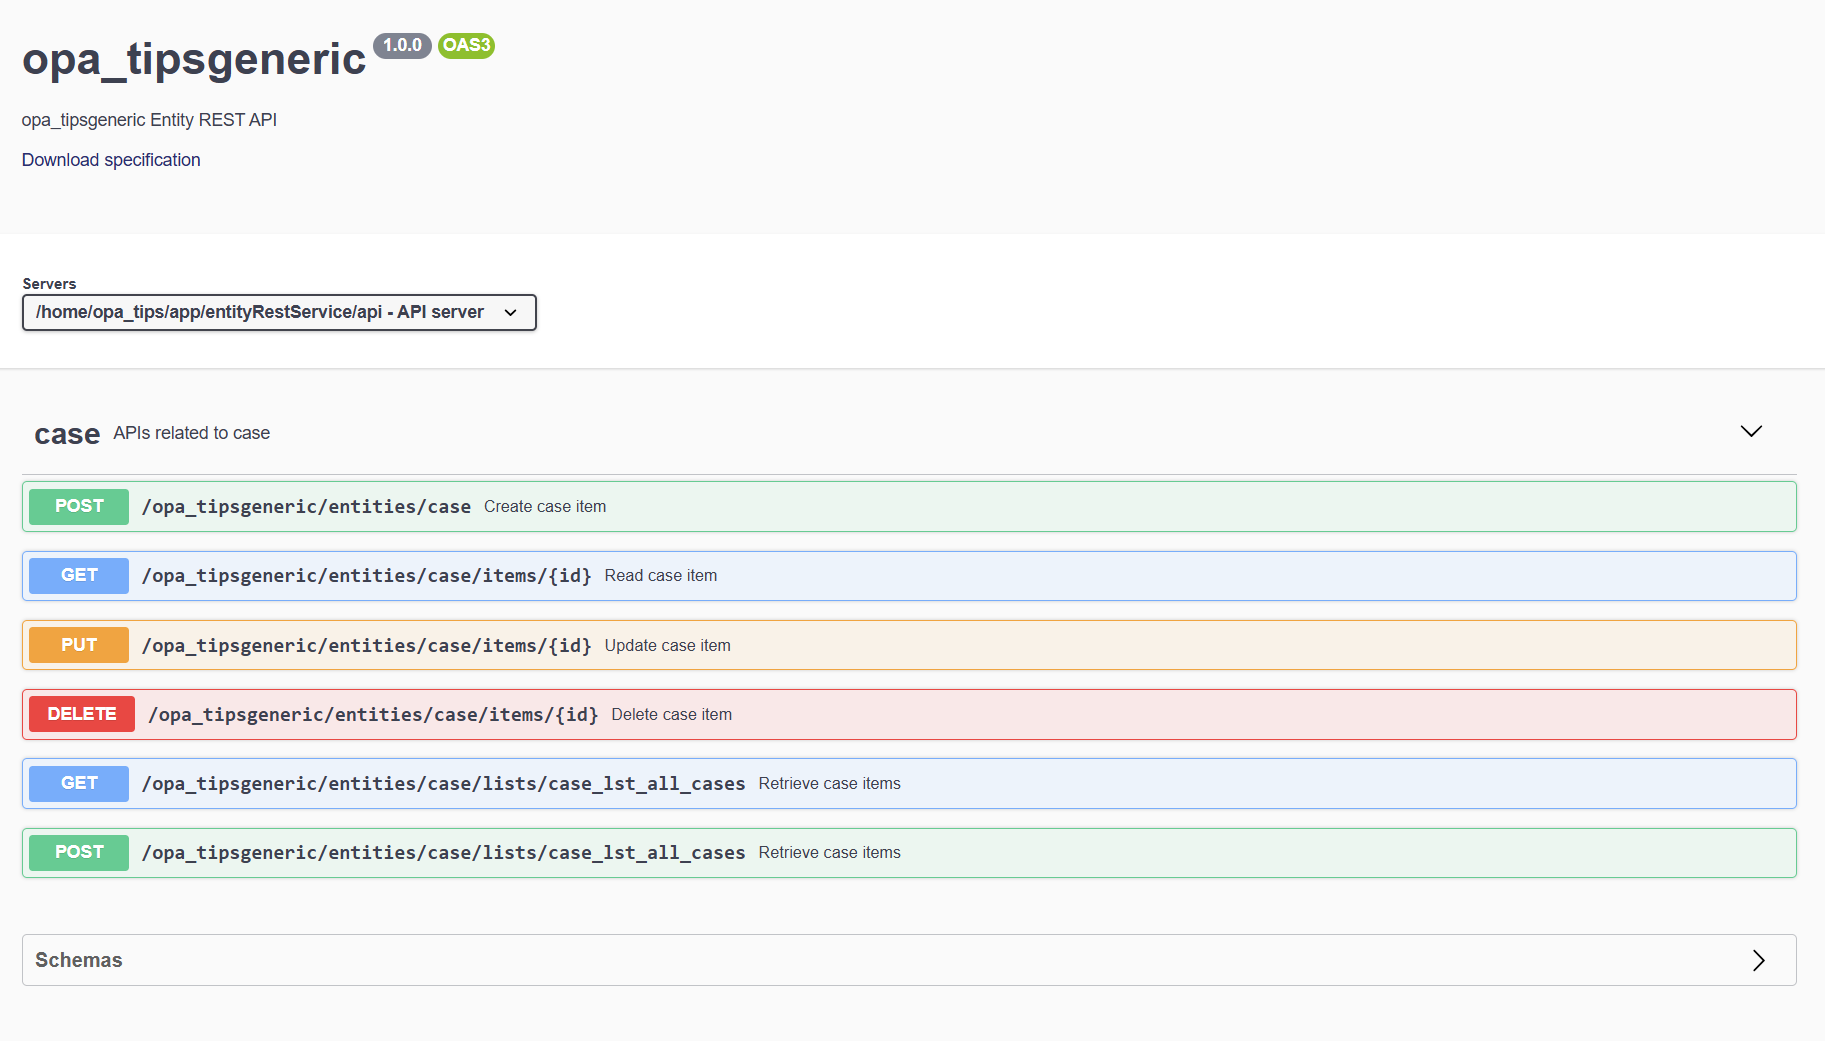
You’ll enter the SwaggerUI documentation to do your CRUD operations on the runtime entities:
Update the AppWorksTipsSimulation class with these 2 code snippets to create a new case in runtime:
1 | //The URL variable |
After this run, it’s all green on the tests, but have a look in runtime now:
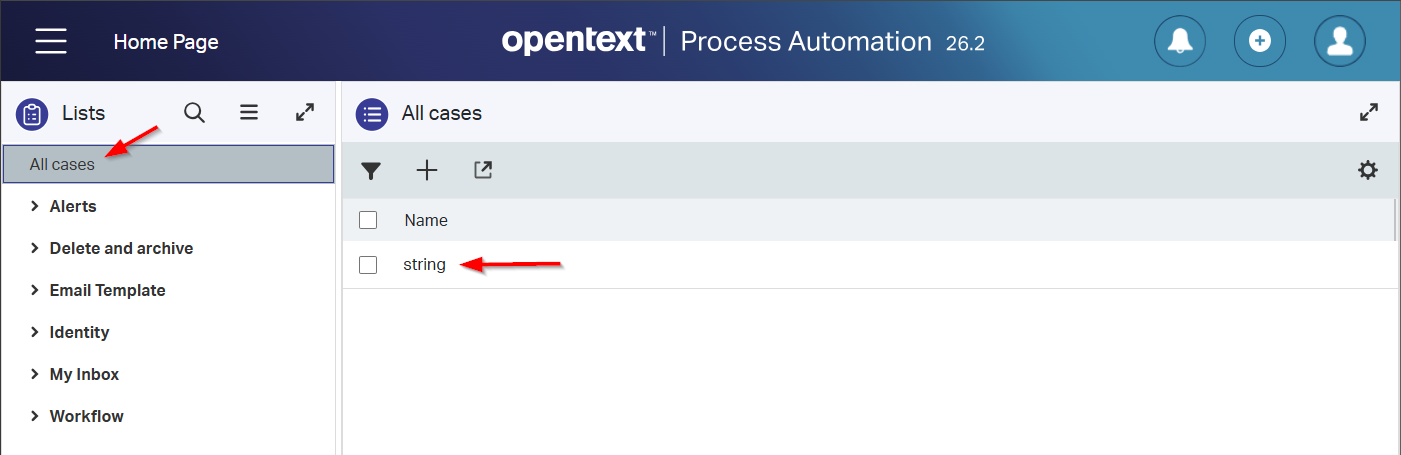
We have a case instance…Great! However, after testing you also want to clean up the mess…
Clean up the mess
Finally, we do one last update to clean up our mess…It’s as easy as this, reusing the URL of the previous call:
1 | .exec(http("Delete case entity") |
That’s it…Do a full run now on your first set of Gatling tests. You’ll be fine with green checkmarks and a solid report to further investigate. This is also where the fun starts, and where you can extend things against your solution!
You’ll find the full class here
You’ll find my latest report run here
A well-earned DONE where we got a great head start on using Gatling Java DSL for your first performance/load testing requirements. Things don’t need to be hard to use; just a simple example can trigger your creativity to embrace these tools. Play with it, have fun with it, and we’ll chat on a next testing tool, next week! Cheers…
Don’t forget to subscribe to get updates on the activities happening on this site. Have you noticed the quiz where you find out if you are also “The Process Automation guy”?
