
Hi there “Process Automation” fans,
Welcome to a new installment of “Process Automation” tips.
There will come a time when you need to migrate from one SVN location to another SVN location. Whether it’s from one software supplier to another or between two instances of the same supplier, it can happen. In our project, we eXperienced a migration from one SVN instance (on Dev1) to another SVN instance (on Dev2); in our case, this was essential information, as the SVN server (which is VisualSVN) runs on each OPA instance. This is all for a reason (upgrade-wise); if the SVN server runs on its own instance, we can work with branches…WAIT; not for now! 🙊
Ok, what am I aiming for? That’s a valid question! I just want to eXperience for myself what it takes to move from one SVN instance to another one…AND, because we are Process Automation Tips, we raise the bar a little higher by moving from one SVN supplier to another; just because we can…
Ohwww, two things are important for this exercise:
- Our repository with the solution sources of OPA should be intact
- The history of our commits (incl. messages) should be intact
Let’s get right into it…
So, which suppliers do I aim for? Well, that’s “Apache Subversion” and “VisualSVN”. I assume (for this post) you have both systems up and running. This post will have two sections where we move from VisualSVN to Subversion, and back to VisualSVN again. Hopefully, we’ll make it to the end with all the lessons learned for you to consume.
To get both systems up and running:
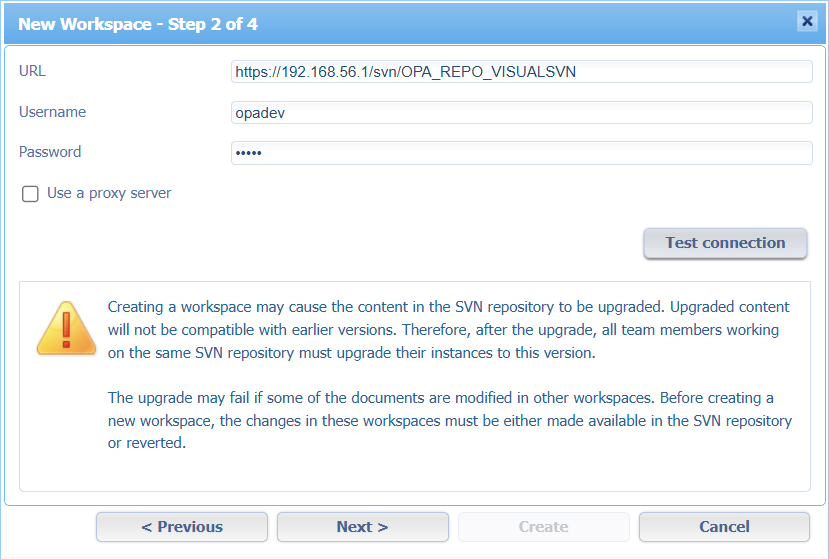
First, we make sure we have a nice workspace with a project up and running, connected to VisualSVN:
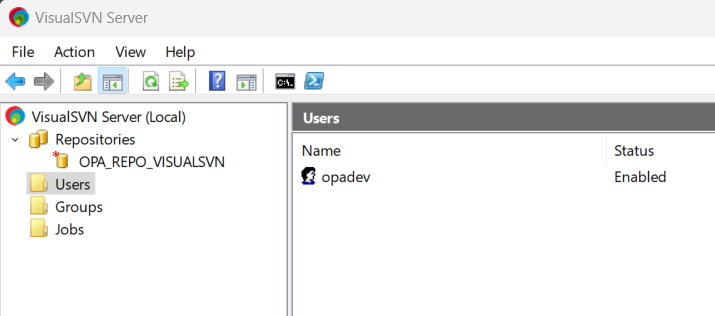
This is the repository view in VisualSVN:
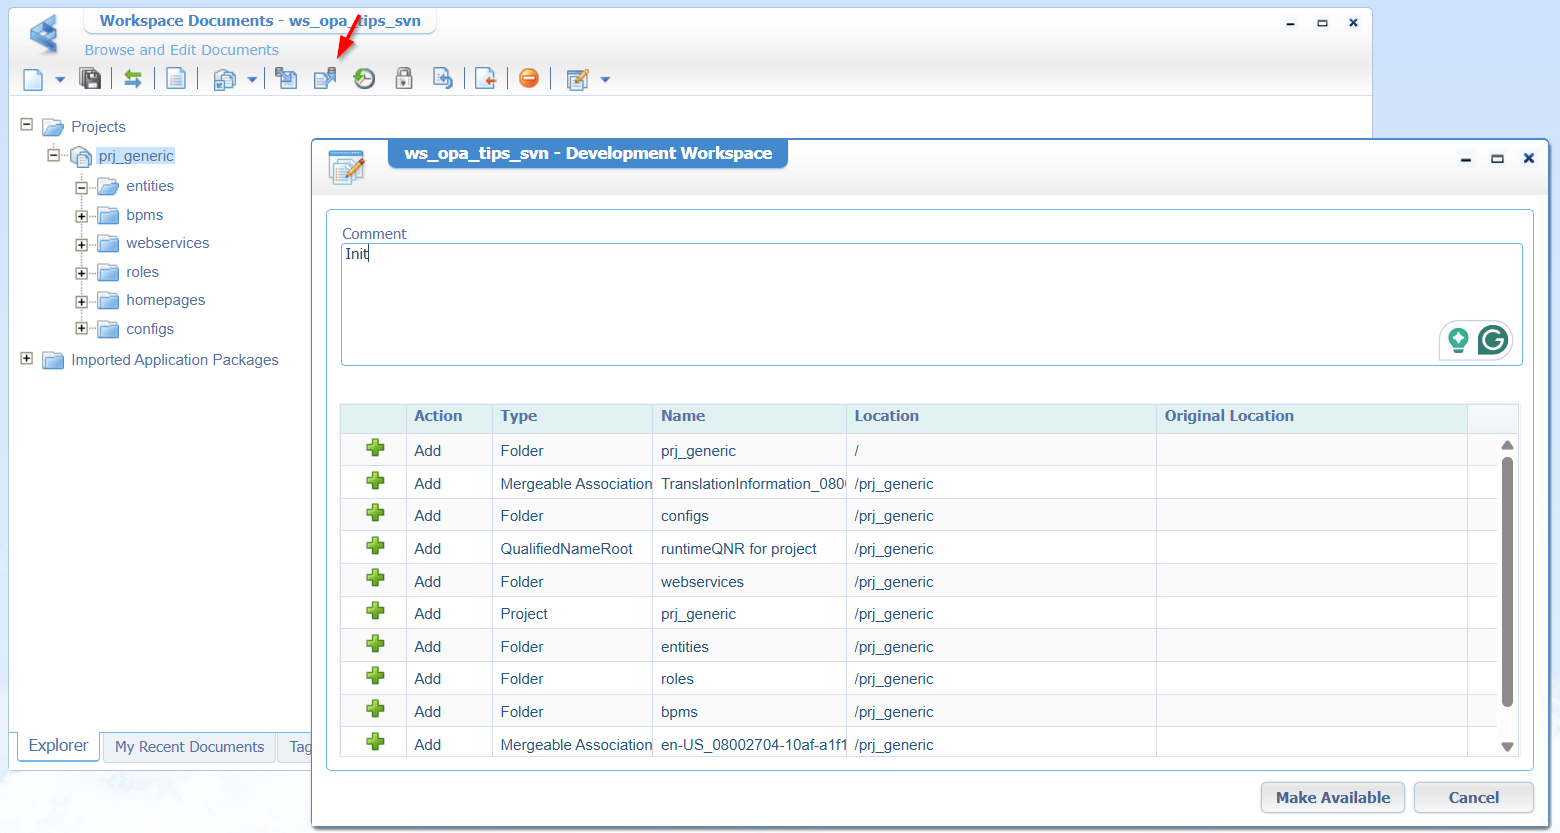
Set up your project with some folders and make a first commit:
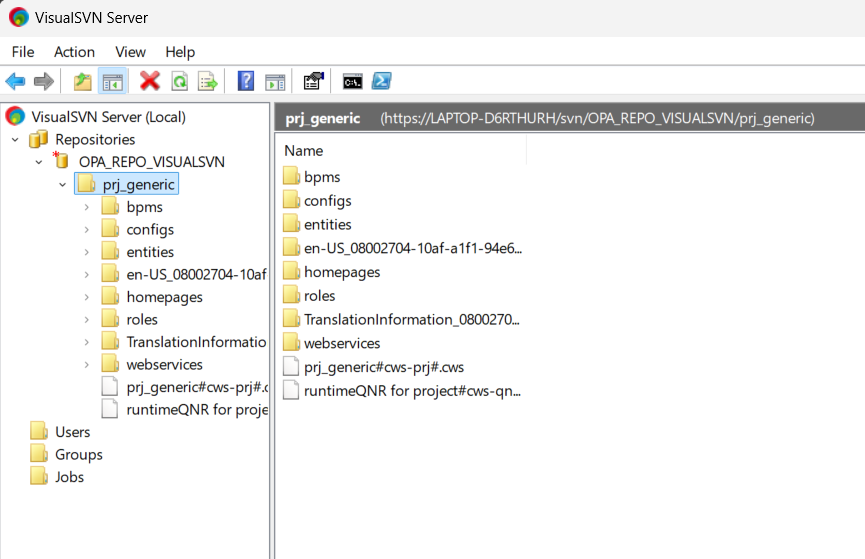
This is what you’ll find in VisualSVN server:
Great, now do a couple of changes and make some commits (to build some history). You can view this history easily with TortoiseSVN:
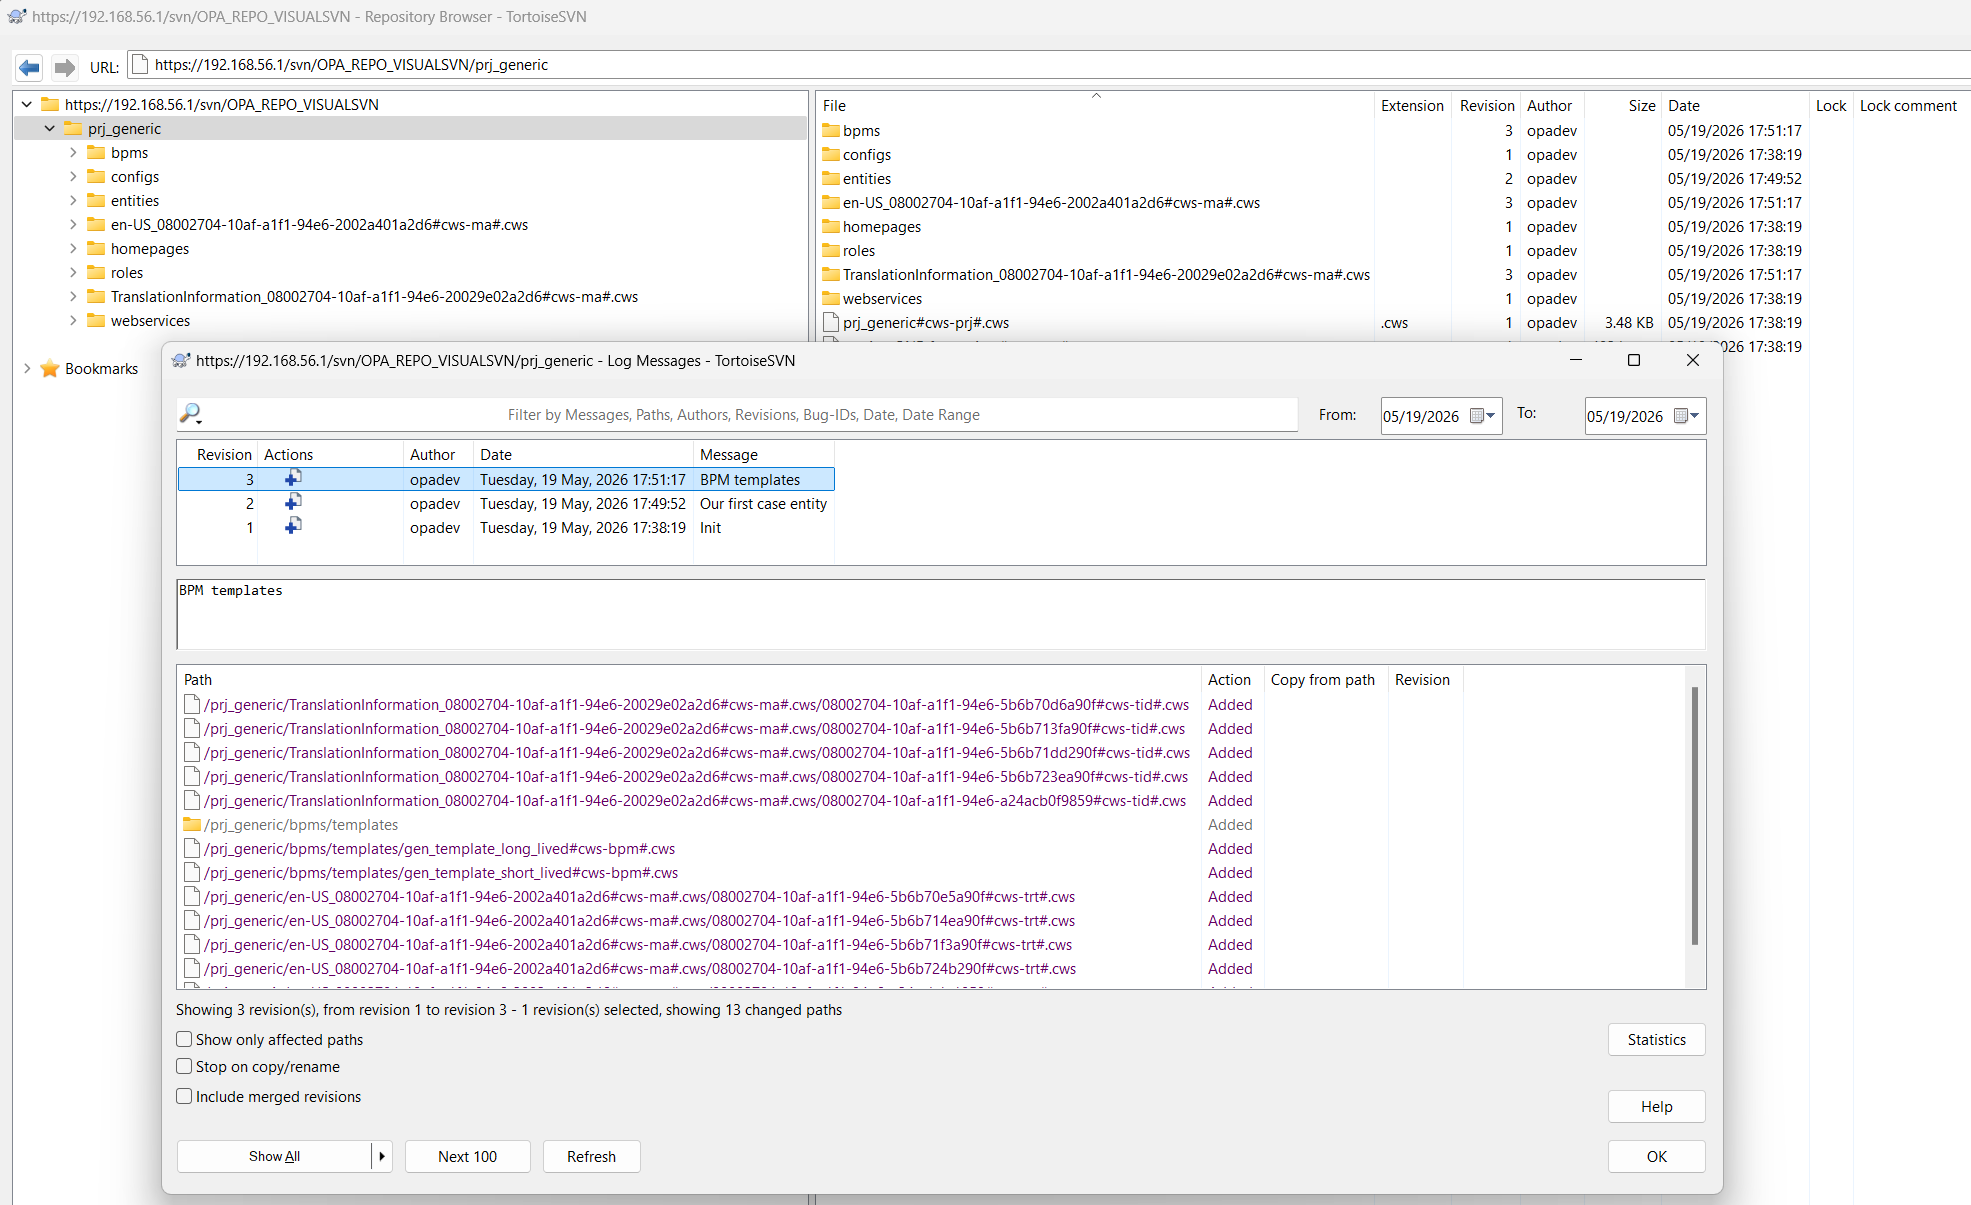
TortoiseSVN also has a Git version; both are underrated tools, but highly efficient during your low-code development work on the OPA platform! We use it for history, branching (after a release), and local checkouts for source searching with Notepad++…Also, an underrated tool which you make invincible with the correct plugins in place!
Looks like we’re ready for the migration step…
…
WAIT…First, make sure you also have a connection with Apache Subversion on the RHEL VM; mine is ready following my own post:

VisualSVN → Apache Subversion
So, our goal is to move the prj_generic folder from one repo to another repo (including the history!)…AHA! I’m a Unix person, so we do the full exercise from RHEL, as my VisualSVN repo is accessible from my VM via: svn info https://192.168.56.1/svn/OPA_REPO_VISUALSVN/
If you get certificate prompts, just permanently accept them and provide the required credentials.
Eventually, you’ll see something like this:
1 | Path: OPA_REPO_VISUALSVN |
You can even do these commands:
2
svn log https://192.168.56.1/svn/OPA_REPO_VISUALSVN/prj_generic --limit 5
It’s time for our first dump file (incl. history!):
1 | mkdir -p ~/svn-migration |
Great, now let’s check if the Subversion side is ready on a clean repo via svn log https://192.168.56.102/svn/repo1/. You should not see any entries passing by!
It’s time to load our dump file into Subversion: sudo svnadmin load /opt/svn/repo1 < ~/svn-migration/visualsvn-full.dump
A lot of logging passes by, but check this again: svn log http://192.168.56.102/svn/repo1. Or this comparison via TortoiseSVN:

That’s a party…Trust me (😇) on the history; it’s available!
Apache Subversion → VisualSVN
Now you guess what needs to happen next…I give you a starting hint: svnrdump dump http://192.168.56.102/svn/repo1/ > ~/svn-migration/subversion-full.dump
Following the above in “vice-versa-glasses”, you’ll eventually end up loading again with something like this: sudo svnrdump load https://192.168.56.1/svn/OPA_REPO_VISUALSVN/ < ~/svn-migration/subversion-full.dump.
If you paid attention, you see we’re using
sudo svnrdump load...instead ofsudo svnadmin load...!? Why? Well, because we can’t access the Windows location (C:\VisualSVN Server\Repositories\OPA_REPO_VISUALSVN) directly from our RHEL VM!
This svnrdump load https://... action is a remote call running over Apache HTTPD with all its complex configs; it’s easier to simply copy the dump file to your local machine and run this from your CMD prompt:
1 | "C:\Program Files\VisualSVN Server\bin\svnadmin.exe" load "C:\VisualSVN Server\Repositories\OPA_REPO_VISUALSVN" < C:\Temp\subversion-full.dump |
Or like this in PowerShell (if you want to be a hip consultant who sounds smart):
1 | cmd /c """C:\Program Files\VisualSVN Server\bin\svnadmin.exe"" load ""C:\VisualSVN Server\Repositories\OPA_REPO_VISUALSVN"" < ""C:\Temp\subversion-full.dump""" |
That’s a splendid migration “DONE” where we moved our valuable SVN data from one SVN instance to another and back. You see now how easy it is to accomplish such a task. With good planning, this post, and a little time from your side, it’s already a “job’s done”. Share this knowledge with all your comrades, and we’ll continue our journey next week with another topic about Process Automation Tips…cheers! 🍺
Don’t forget to subscribe to get updates on the activities happening on this site. Have you noticed the quiz where you find out if you are also “The Process Automation guy”?
