Hi there AppWorks fans,
Welcome to a new installment of AppWorks tips.
This time a totally different topic, but I need to cover this one as I have a requirement that needs this feature. It is called multi-tenancy on the already running OTDS instance.
Why? I want to make use of the AppWorks connector for Documentum and to make this feature work (in a supported environment) you need to have a second OTDS instance where you can save new partitions, resources and accessibility settings!
But is multi-tenancy not just the same as a new instance of the OTDS?…Yes it is, but creating a second tenant is easy to accomplish and you don’t need to have a second service/server up and running which is also cheaper and faster to setup.
Let’s get right into it…
First make sure your OTDS instance is running bright and shining!
http://192.168.56.107:8181/otds-admin/ and login with ‘otadmin@otds.admin’. For me it’s password ‘admin’

Now that it is up and running, we can close it again as we need go back to the server/VM with MobaXTerm or PuTTY via SSH. Make connection and go to the installation directory of OTDS
cd /opt/opentext/otds/install/
Now give the needed file ‘execute’ permission with chmod +x otdstenant.sh
And give this magic command: ./otdstenant.sh -addtenant dctm admin
dctmis the name of the tenantadminis the password for the tenant specific user ‘otadmin@otds.admin’
You get some logging output that should end with ***** OtdsDeploy Ended *****
Other commands
To remove it you can do ./otdstenant.sh -removetenant dctm
Or in some circumstances you just want to disable the tenant with ./otdstenant.sh -disabletenant dctm
Or enable it again…./otdstenant.sh -enabletenant dctm
For more information look in the OpenText PDF OpenText Directory Services 20.1.1 - Tenant Management Guide
Access the tenant
Ok…we’ve created a new tenant, but now what?
Normally we login with this URL: http://192.168.56.107:8181/otds-admin
Let’s access our tenant be using this URL: http://192.168.56.107:8181/otdstenant/dctm/otds-admin
You can use your account ‘otadmin@otds.admin’ with the password you provided in the ‘addtenant’ command!
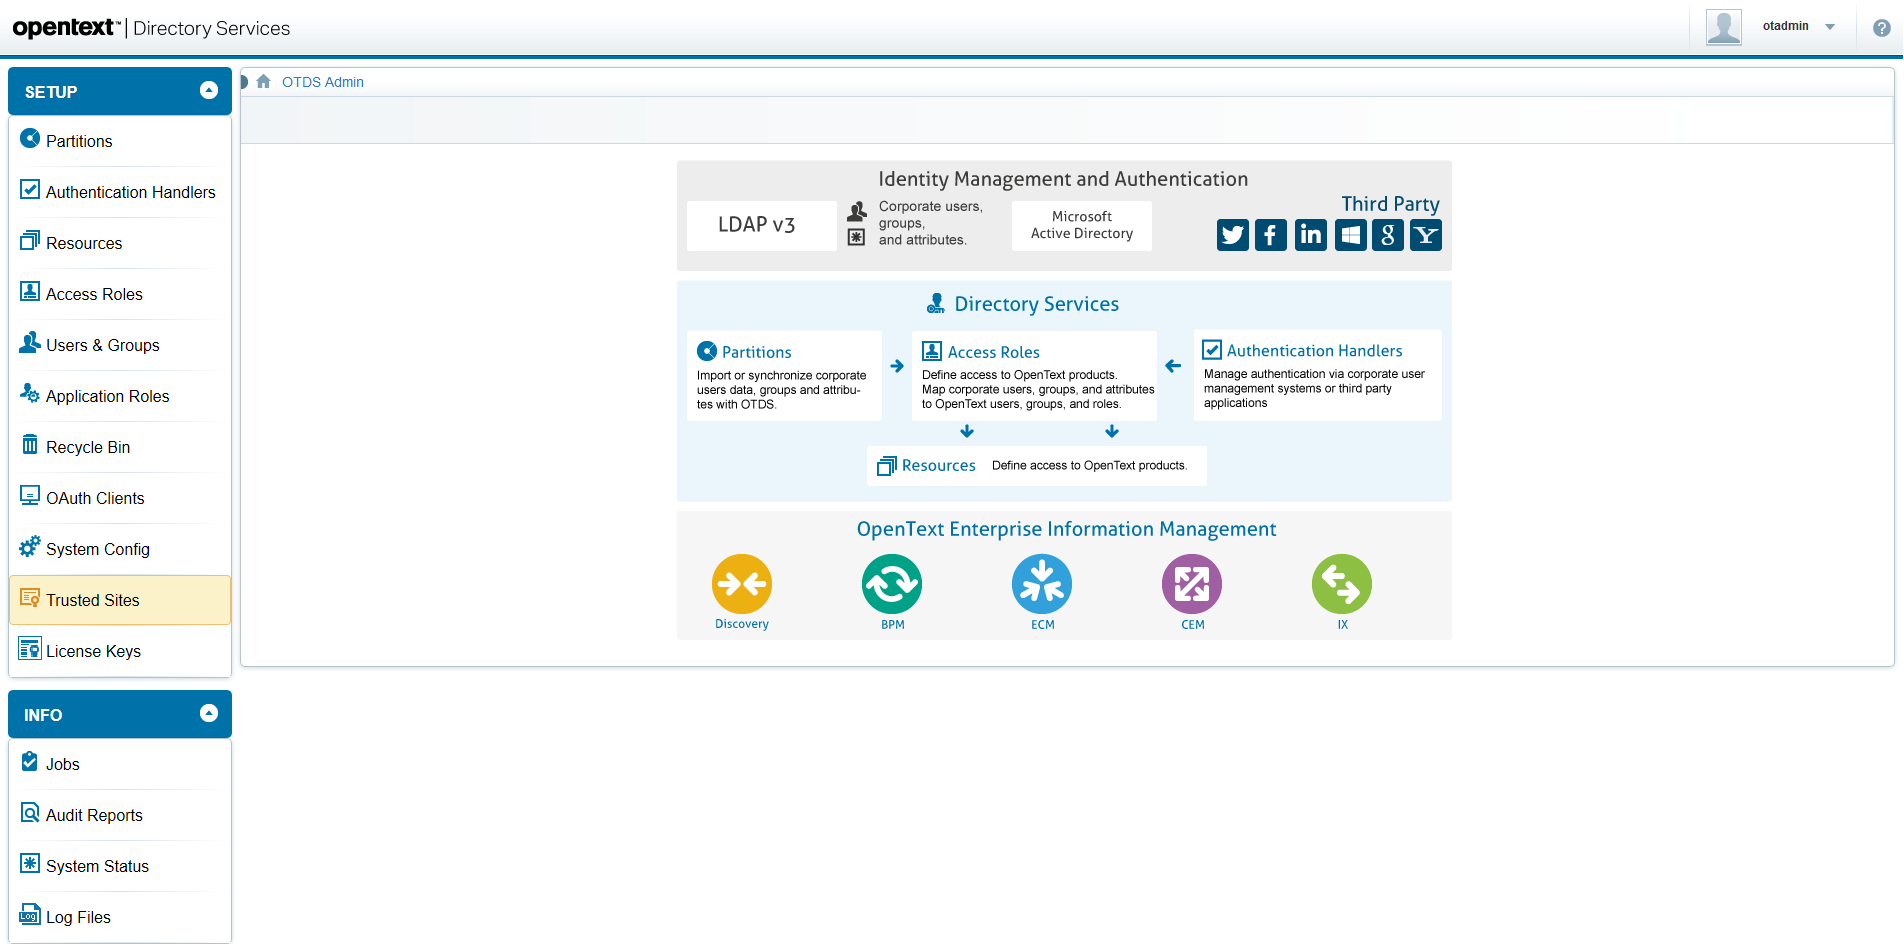
And there you have it. A new tenant on top of the already running OTDS instance. A clean and simple “DONE” this time! Nothing more and nothing less, but ready for you start using this new tenant that can be treated as ‘new OTDS instance’.
Cheers…And don’t forget to subscribe to get updates on the activities happening on this site. Have you noticed the quiz where you find out if you are also “The AppWorks guy”?


