
Hi there “Process Automation” fans,
Welcome to a new installment of “Process Automation” tips.
This guide will help you to install a basic and minimal RHEL on the previous new created VM image. We’ll make the installation as clean as possible for a steady image that will keep running till you turn it off. At the end of the post we create an SSH connection, so the image can be left alone for further step in the series for ‘“Process Automation” installation in 10 great steps’.
This is the list of ingredients we are going to use:
- The already installed ‘Oracle Virtual Box’ software from the previous post
- RHEL ISO file that is connected to our VM image from the previous post
- PuTTY (SSH client). Downloaded from: putty.org
- WinSCP (SFTP client). Downloaded from: winscp.net
- MobaXterm (X server and SSH client). Download from: mobatek.net
Let’s get right into it…
Start the VirtualBox software and select the previous created image. Time to startup our brand-new VM machine. Hit that green ‘Start’ arrow or just double-click on the image to boot it up:
If you want to exit the image you can hit the right
<Ctrl>key on your keyboard (see also on the right-bottom of the running VM)
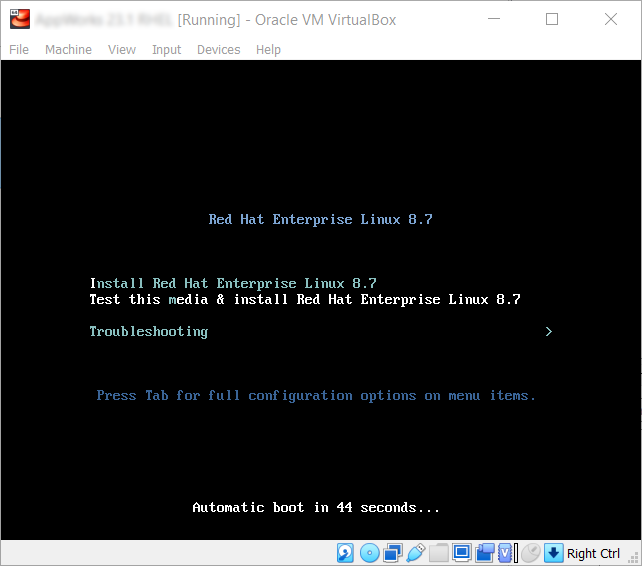
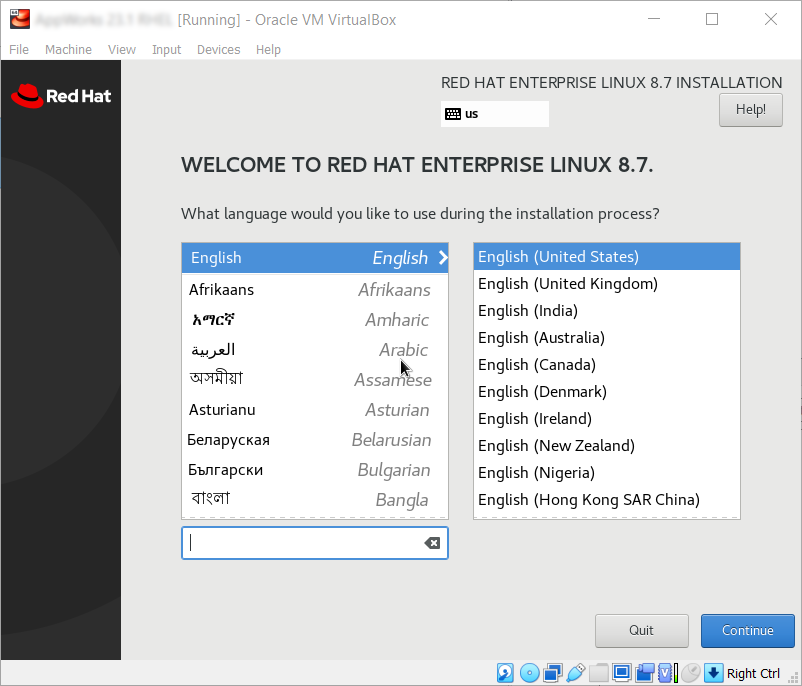
Make sure you select the option ‘Install RHEL X.X’ and hit the <Enter> key on your keyboard, so the VM can start doing its magic. The first screen we’ll see is a warm welcome. Select your language setting and hit ‘Continue’
Now you see the ‘Installation summary’. Browse a bit down to select the ‘Network & Host Name’ settings. It now says: ‘Not connected’!
Set both Ethernet connections ‘ON’ and make sure they get the correct IP addresses from the DHCP server and change the host name to a Fully Qualified Domain Name like: opa.mydomain.com
Notes:
- Never use
localhostorlocalhost.localdomainin your FQDN; It’s a check on the CARS/OpenLDAP installation!- Don’t forget to hit the ‘Apply’ button next to the FQDN field!
- It is required to have a FQDN is a hostname for the installation of “Process Automation”!!
Click ‘Done’ to get back to the summary and do the following settings for the other items:
- Connect to Red Hat from the previous created developer account and make sure to register and subscribe the current system (or skip it and use the local ISO DVD where all software is available and register later!)
- Security Policy: Set to
off - KDUMP: Disable it by unmarking the related option
- Installation Destination: Open it once and click ‘Done’, so it gets automatically partitioned
- Date & Time: Select your region and city
- Software Selection: Select only
Minimal Installfrom the left panel - Set a ‘Root’ password:
admin(in my case!)
Because ‘admin’ is a short password, you need to hit twice on the ‘Done’ button to apply
- Add a new
sysadminuser with ‘Administration’ permission and password:admin(in my case!)
I choose that ‘sysadmin’ name wisely! As during the platform installation there is also an account created with that exact same name and that will benefit you in the future…Trust me on that! 😇
Now the summary is fine, and you should be able to hit the nice and shining ‘Begin Installation’
In the meantime…
1 | if (!installationIsDone()) { |
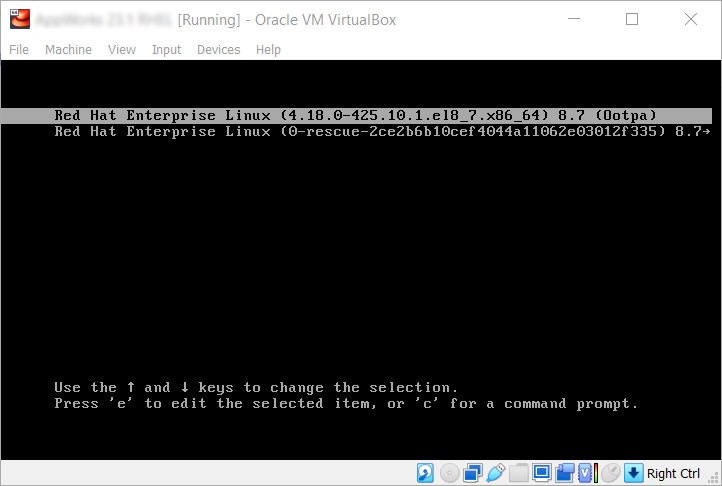
After rebooting it will startup your brand-new RHEL system:
On the login prompt:
- Username:
sysadmin - Password (if you used the same example):
admin
Now the playground is open!
Firstly, we’ll start with some basic stuff:
- Check system startup:
journalctl -p 3 -xb - Register at Red Hat (if not yet done during installation):
subscription-manager register --auto-attach --release=9.7 --force - Updating the OS:
sudo dnf -y update - Upgrading the OS:
sudo dnf -y upgrade - Installing ‘net-tools’:
sudo dnf -y install net-tools - Installing ‘xterm’:
sudo dnf -y install xterm - Installing ‘unzip’:
sudo dnf -y install unzip - Installing ‘tar’:
sudo dnf -y install tar - Installing ‘wget’:
sudo dnf -y install wget - Installing ‘chkconfig’:
sudo dnf -y install chkconfig
Secondly, we install the Extra Packages for Enterprise Linux repository following this guide:
1 | subscription-manager repos --enable codeready-builder-for-rhel-9-$(arch)-rpms |
Finally, cleaning up the OS: sudo dnf clean all
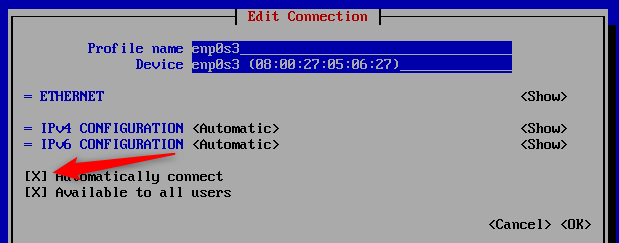
If you run ifconfig or ip a you’ll see that not all network adapters have on IP address. This is because they are not all active by default on startup. Check with nmcli d. To solve this run the command nmtui. Edit the connection that is not active and make sure to mark the ‘Automatically connect’ option.
Then restart the network service: systemctl restart NetworkManager
Get the hostname with hostname and set the /etc/hosts file to the correct fqdn with sudo vi /etc/hosts and change like this (for example we forward the hostname to the host-only network adapter):
1 | 192.168.56.107 opa.mydomain.com opa |
Quick vi-reference
- Hit
<Insert>to start making changed - Hit
<Esc>to stop making changed - To save the file (after
<Esc>) type::w - To quit the file (after
<Esc>) type::q
We’ll disable IPv6 as it is more inconvenient than it comes in handy.
sudo vi /etc/sysctl.conf…and add these 2 lines:
1 | net.ipv6.conf.all.disable_ipv6 = 1 |
Reload with sudo sysctl -p
Let’s also disable the firewall in 3 steps as it’s not required for our VM and will give more pain than pleasure.
sudo systemctl stop firewalldsudo systemctl disable firewalldsudo systemctl status firewalld
Check the SSH service status: systemctl status sshd. This is a required service for the next step, so make sure it’s active (running)
Give our image a restart before we continue: sudo reboot
Or if you’re done for now: sudo shutdown -h now
When the image is up and running and shining like a star you can start with SSH…
Startup PuTTY with this information:
- Host Name (or IP address): The IP address of your VM host-only adapter
- Run
ifconfigon the VM to get the IP result
- Run
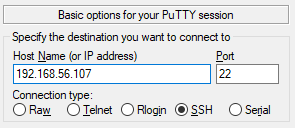
You should be able to make a connection now and login with the ‘sysadmin’ user.
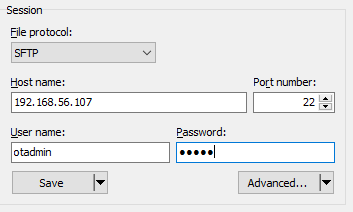
Exactly the same can be done with WinSCP:
And off-course the same for MobaXTerm:
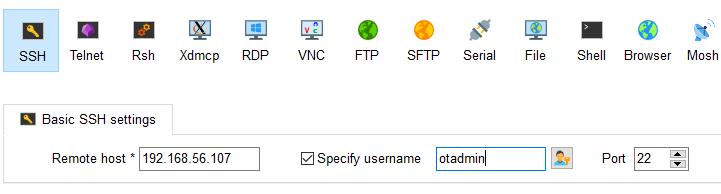
This images still shows
otadminas account name, but I currently usesysadmin!
Now we’re ready to install all the other requirements, but for this post we give it a nice big ‘DONE’! Next step in the series of ‘“Process Automation” installation in 10 great steps’ we’ll install Java to support the TomEE application server.
Great work for now and good stuff to learn from…Have a nice day and see you next time on a new installment of “Process Automation” Tips!
