
Hi there AppWorks fans,
Welcome to a new installment of AppWorks tips.
Styling your runtime UI with CSS is one thing (as read here); Scoping down on a specific panel for a layout on styling is another thing. You will not be the first one styling a component, and other things in the UI suddenly change as well.
This post shows how to find the correct CSS selectors and play with CSS like a bro! 💪
Let’s get right into it…
Let’s assume you have a feature rich ‘Case’ entity with a full range of building blocks applied. Like this:
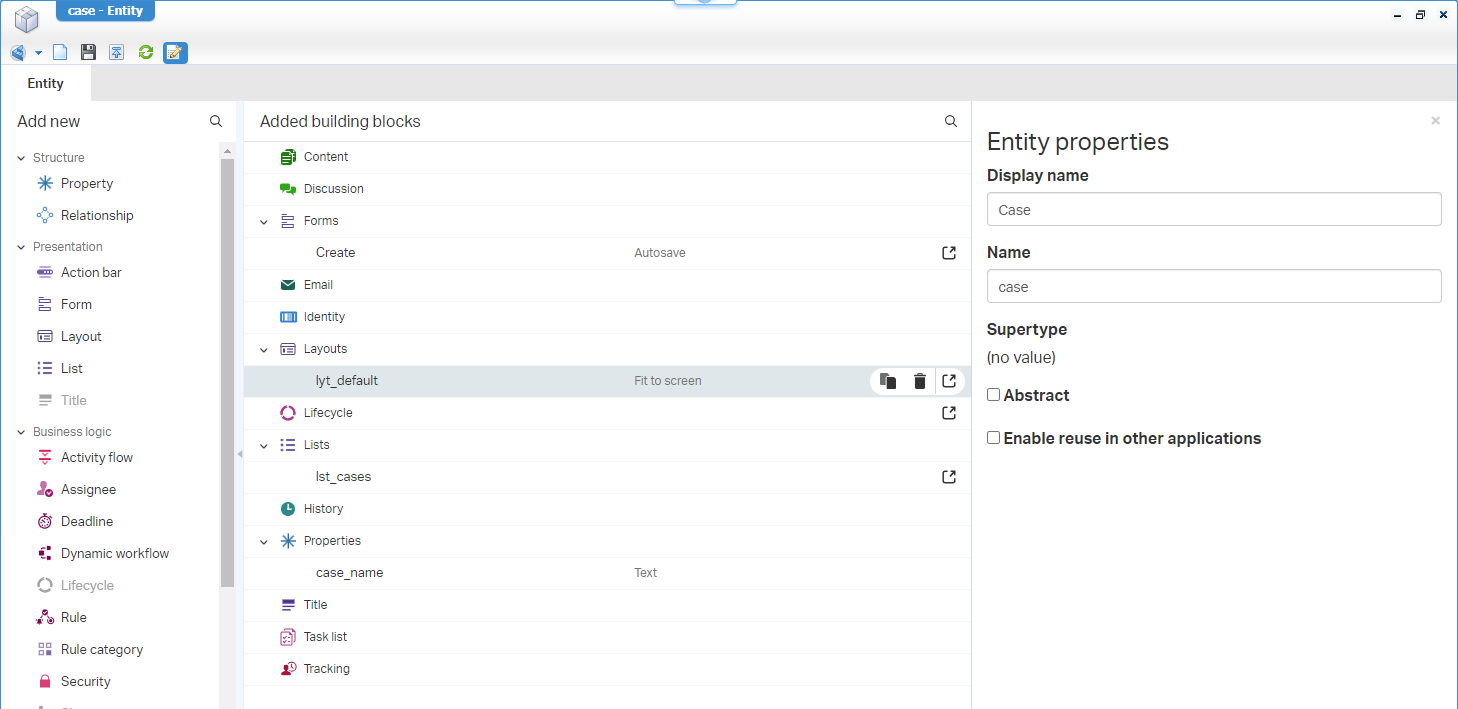
Notes to make it publishable:
- Add an email configuration yourself.
- Add a history configuration yourself.
- Add a basic one-state lifecycle flow yourself.
Hard to do? Have a comment below…
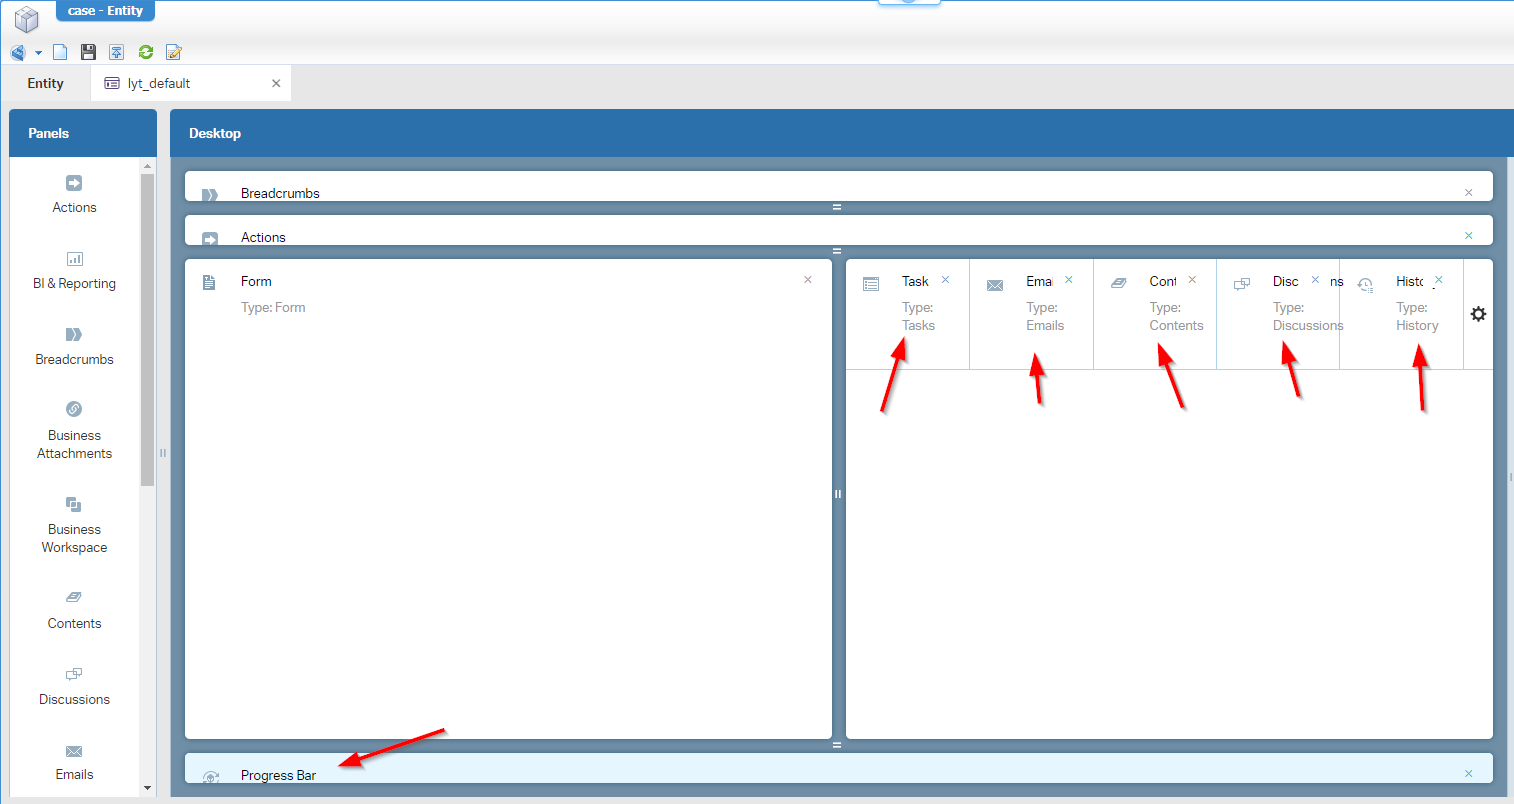
To enrich the runtime UI with all the options possible, we update our default layout with all the extra relevant panels:
Do a publication and create your first ‘Case’ instance in runtime. Well, so far so good! From that same runtime let’s say you want to have a different background color for your ‘Tasks’ actions? For this we start de developer tools <F12> where you can use the element selector tool on the header bar in the UI:
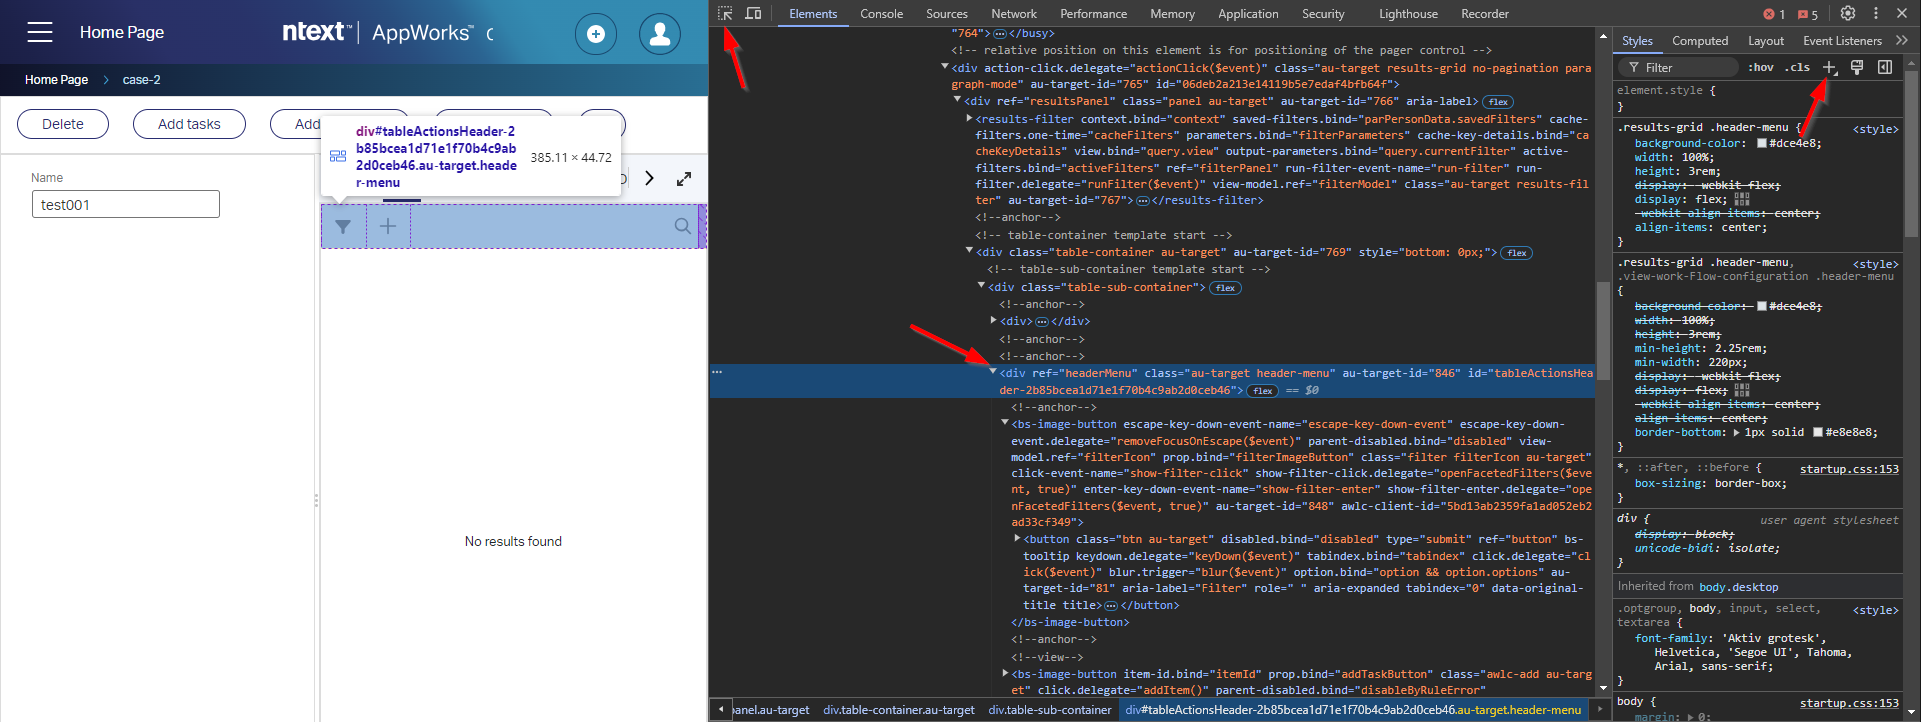
Once selected, hit the + sign in the top right and update the new “inspector” style with this content:
1 | .header-menu { |

The “inspector” style is only for the current page/session; After refresh it’s gone! So, when your element is fine, copy it into the CSS of your solution!
Niceeee, but now click around in the other tabs…@^%$@^$! Do they change too!? Yes, that’s because we’re not scoping down as described in the introduction of this post. So, how to solve this?
One way of doing it, is making sure the CSS selector will match a parent <div> somewhere in the tree that equals the ‘Tasks’ tab name. You can go further up in the tree with the > sign. So, you can do things like this (which is moving up the elements tree):
1 | layout-tabs > div > div > section > layout-panel > panel-parent-container > panel-container > div > results-grid > div > div > div > div > .header-menu { |
Once you reach the ‘tabs’ element, you can check further down like this (with the :has(...) CSS pseudo-class!):
1 | layout-tabs:has(tabs-header):has(ul):has(li):has(div[title="Tasks"]) > div > div > section > layout-panel > panel-parent-container > panel-container > div > results-grid > div > div > div > div > .header-menu { |
All nice and advanced stuff; We’re learning here, but can we do better, and can we be smarter?
Yes, please! 🤗
…
Go back into runtime and open the default layout of the entity. On the ‘Tasks’ panel, go to the properties of the panel, and add a CSS class name…AHA!
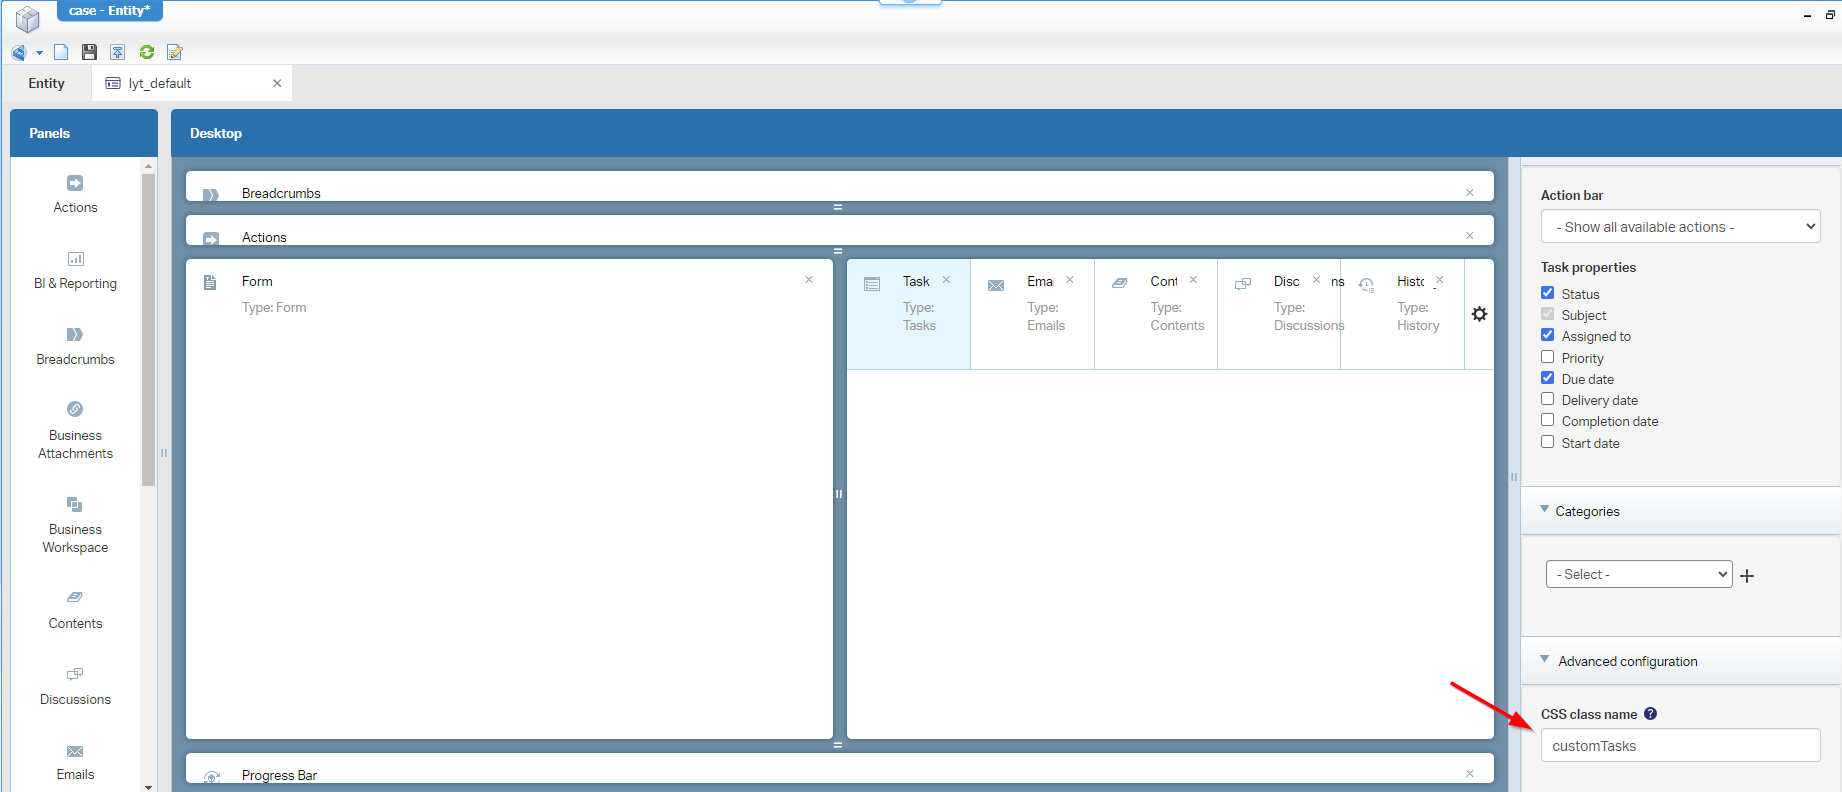
Do a publication and see how this small update impacts the CSS from before:
1 | layout-panel.customTasks > panel-parent-container > panel-container > div > results-grid > div > div > div > div > .header-menu { |
The final CSS update is also more precise as our advanced CSS string was not accurate enough after my clicking! Double-check yourself!
And that’s all for this quick-win-post…This same principle applies off-course also for the other panels in your layout.
A great “DONE” where we learned about scoping down our styling with CSS for a specific panel in the runtime UI. Do your styling but do it smartly. I see you next week. Cheers! 🍻
Don’t forget to subscribe to get updates on the activities happening on this site. Have you noticed the quiz where you find out if you are also “The AppWorks guy”?
