
Hi there AppWorks fans,
Welcome to a new installment of AppWorks tips.
Also, a good morning on this (for me) early Monday where we continue our AppWorks learning journey. This time we’ll dive a little bit into database tables and expose the data of the database in our AppWorks solution. In AppWorks this is called ‘Database Metadata’ and is a very (very!) handy feature and you really need to know how it works! We have several options on using this database metadata, but in this post we’ll cover the ‘Linked Entity’ feature…Yes…Generating entities based on database tables…How easy can we make it ourselves! 😎
Let’s get right into it…
The first thing to do is creating a new database
Let’s jump into the MobaXTerm tool with a connection to your VM (that you already started…of course!)
We have PostgreSQL running the proper way so we can connect with sudo -u postgres psql
Once logged into the database console you can create a new database CREATE DATABASE metadata_db;
Now connect to that new database \c metadata_db;
And create a new table with some columns and (not forget!) a primary key!
CREATE TABLE customer (cust_id BIGINT PRIMARY KEY, cust_name VARCHAR NOT NULL, cust_address VARCHAR NOT NULL);
Just for the double-check to see if it’s created properly SELECT table_schema,table_name FROM information_schema.tables where table_schema = 'public'; or you can also do this for some more info \d customer
Great…next step
Connect the database to the WS-AppServer service container
For this we need to login as an administrator to our organization. In my case the ‘sysadmin’ user in my ‘appworks_tips’ space.
Open the ‘System Resource Manager’ artifact and get the properties of the ‘WS-AppServer’ service container where we can connect a database to the service.
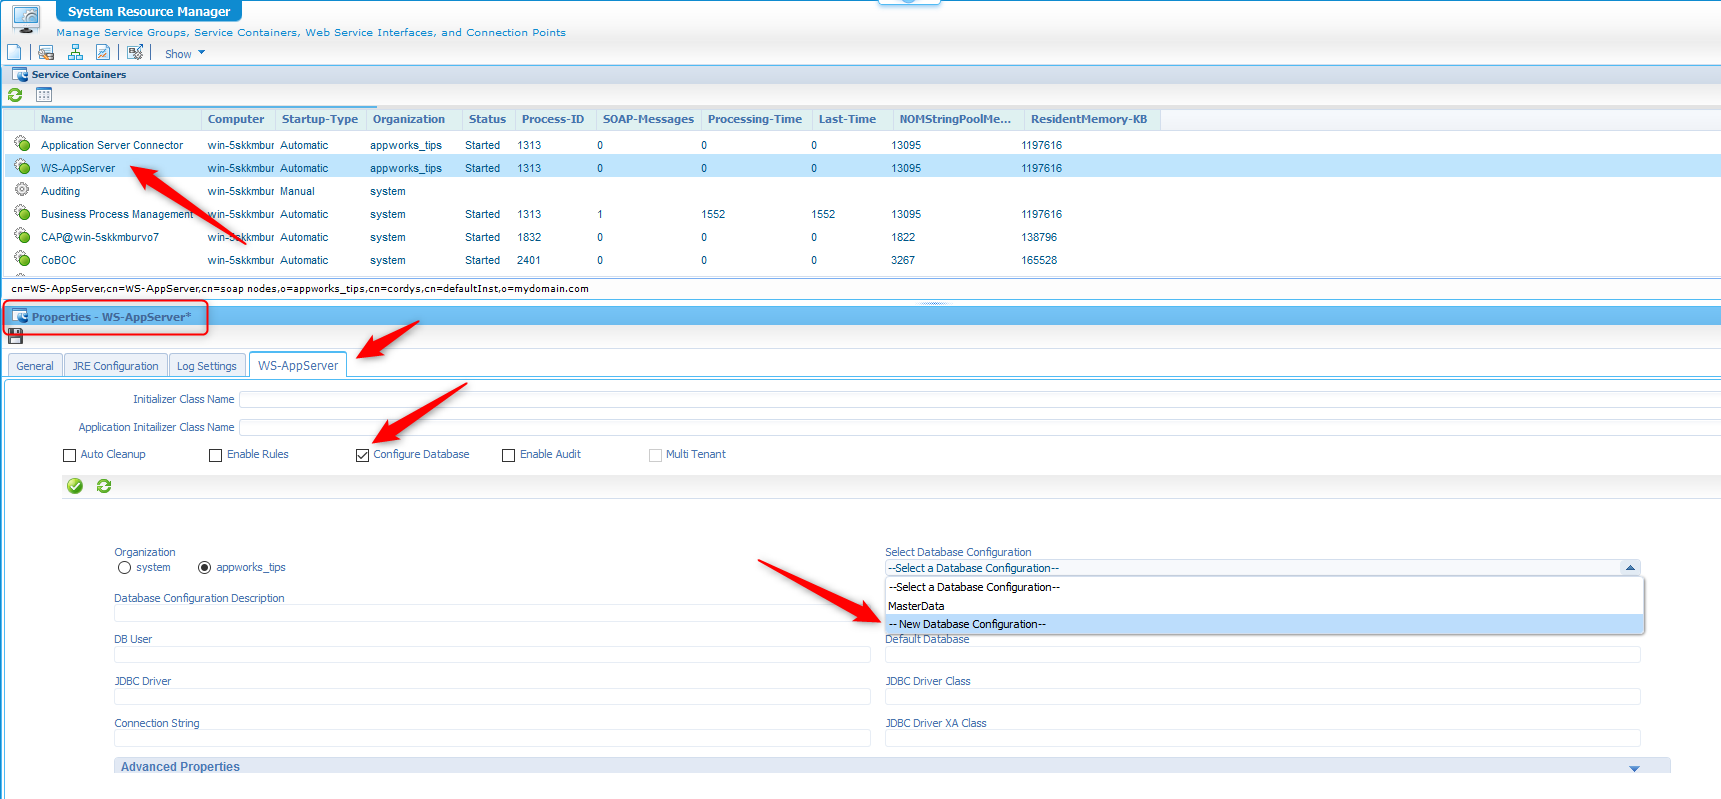
If you don’t have this service available yet you really need to read the post on creating one. Make use of the search to find it back on ‘WS-AppServer’
After selecting that ‘new Database configuration’ option provide it with this information
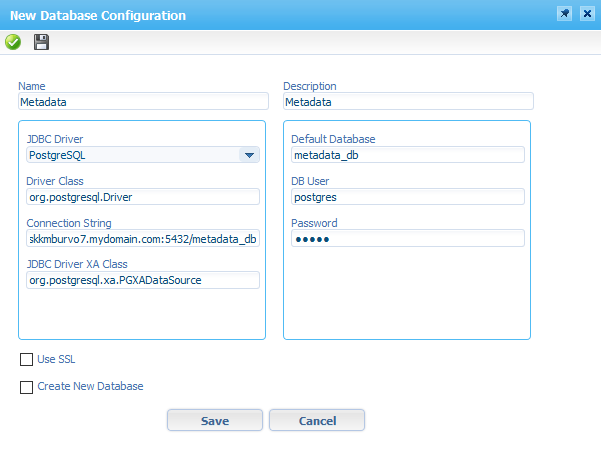
- Name: Metadata
- Database Configuration Description: Metadata
- Driver: PostgreSQL
- JDBC Driver Class: org.postgresql.Driver
- Connection String: jdbc:postgresql://win-5skkmburvo7.mydomain.com:5432/metadata_db
- JDBC Driver XA Class: org.postgresql.xa.PGXADataSource
- Default database: metadata_db
- DB user: postgres
- Password: admin (in my case!)
No need to mark that option ‘Create new Database’ as we already did that upfront!
Hit that ‘Save’ button and test the connection.
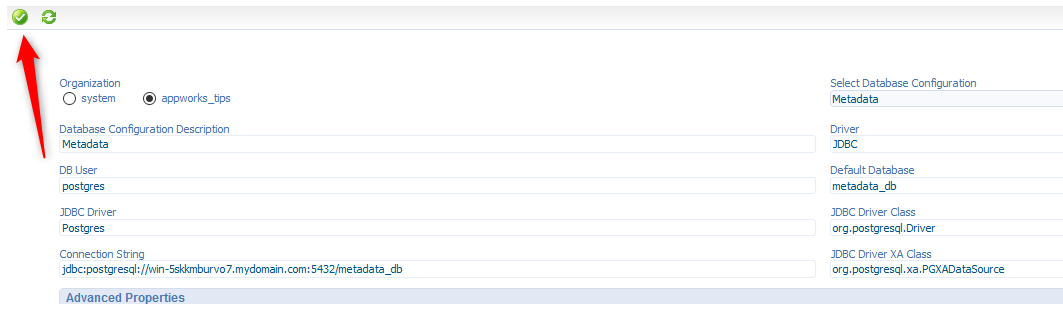
If all is fine we can save the service. Also, make sure to restart it!
Then we can go to the next step…
Create a new ‘Database metadata’ document
Open your favorite workspace with your project and create a new document
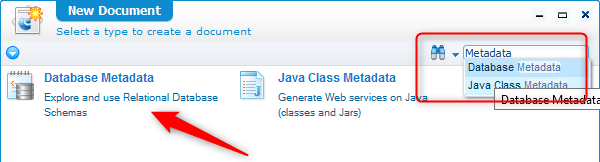
Provide it with all the required information
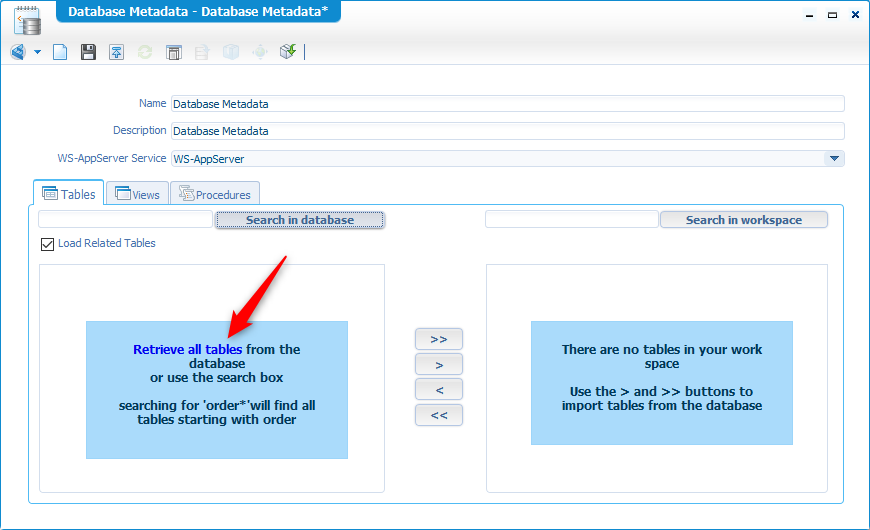
And hit that ‘Retrieve all tables’ link for some magic!
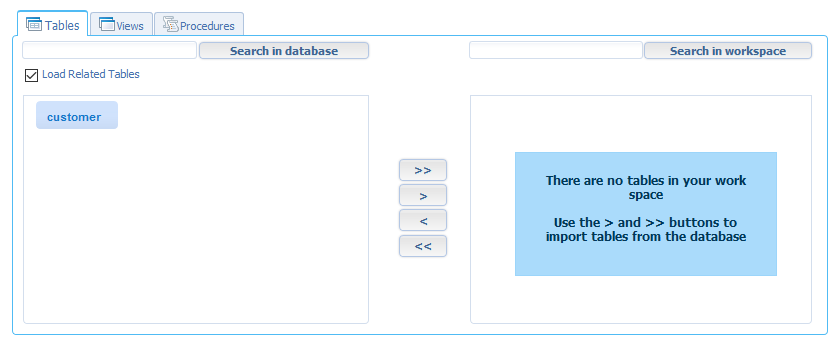
Move that ‘customer’ to the right side, save the database metadata and publish it…that’s all folks!
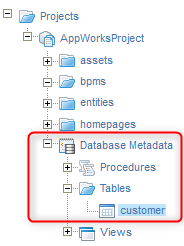
Next step…
Import the entities from ‘Database metadata’
Back in the project view you need to right-click the brand-new ‘Database Metadata’ document and select the ‘Import Entities’
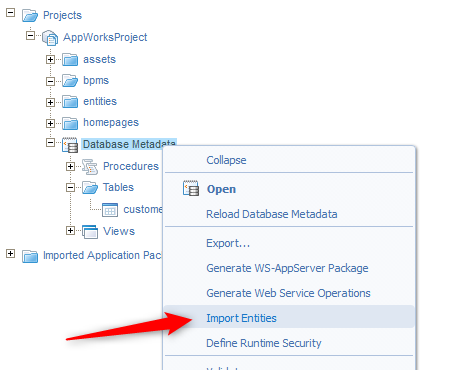
You get this screen

Mark that ‘customer’ and hit the ‘Finish’ like a pro!
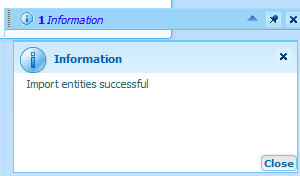
And see the result…WTF…It’s magic!
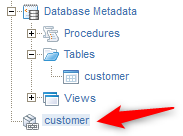
A full-blown entity…let’s open it!
Hooley crap…with a full set of building blocks…great scot!
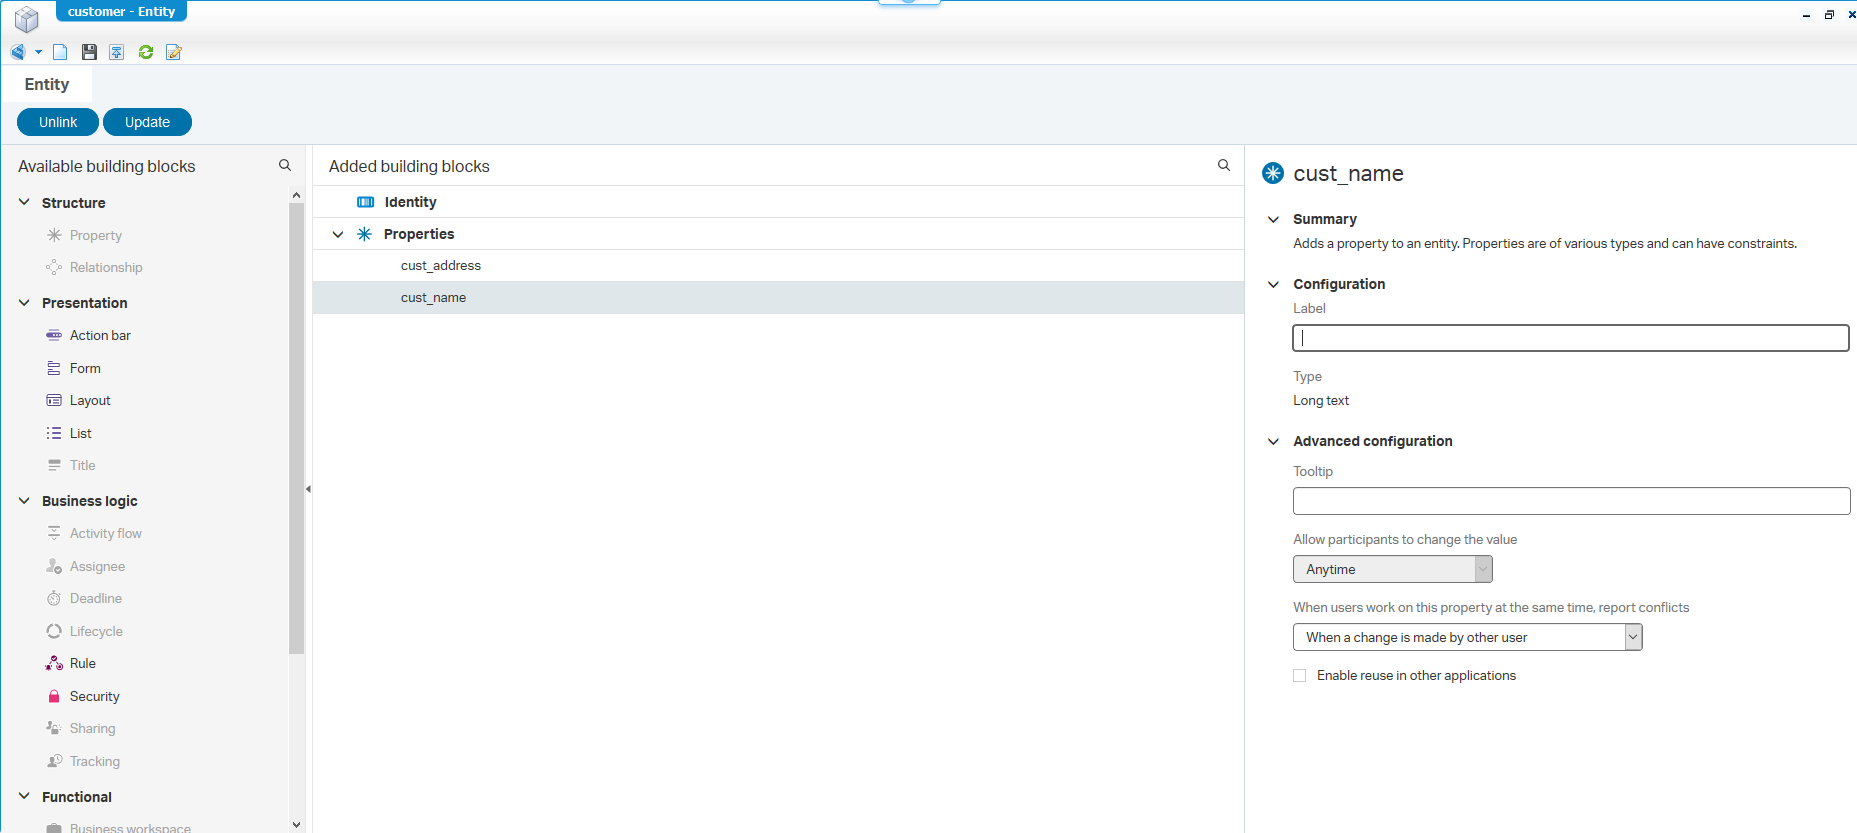
This is what we like…but also with some restrictions as you might have seen. Not all building blocks are available and that is because this entity is not directly under control of the AppWorks platform but is linked to the database.
Also note that the cust_id property is not available, but it’s part of the ‘Identity’ properties of the entity!
Update the database table
Let’s see what steps need to be taken when we update the table in the back end with ALTER TABLE customer ADD cust_age INTEGER NOT NULL;
Next is to reload the table data on the ‘Database Metadata’ document!

And then open the entity again…nothing (yet!)
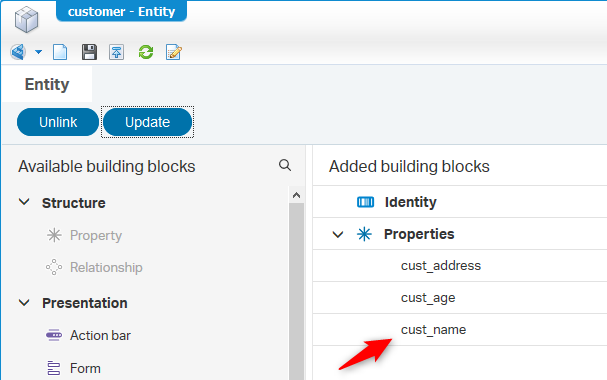
But hit that blue ‘Update’ button (specially placed there for these type of entities)
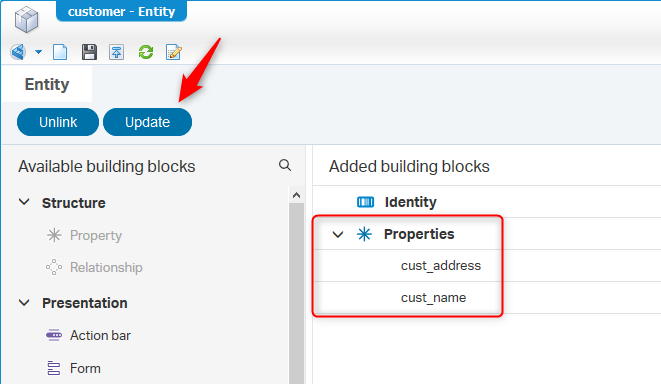
There it is…shining bright like a diamond…
What about the ‘Unlink’?…Not for now, but we’ll try it out in the end of this post as it breaks the link with the database and that was the point of this post, but in theory it should get back under control of the AppWorks platform and all building blocks will be available again!…we’ll see…
Add a ‘Create’ form (and a ‘Default’ form if you like) and a list building block
I think/suppose you can manage that by your own by now…right?
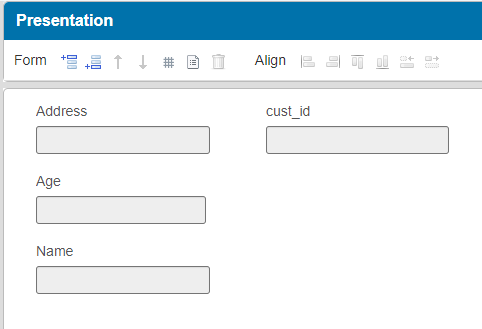
My create screen looks like this. Make sure to add that ‘cust_id’ property as it is the primary key which is required for the table entry!
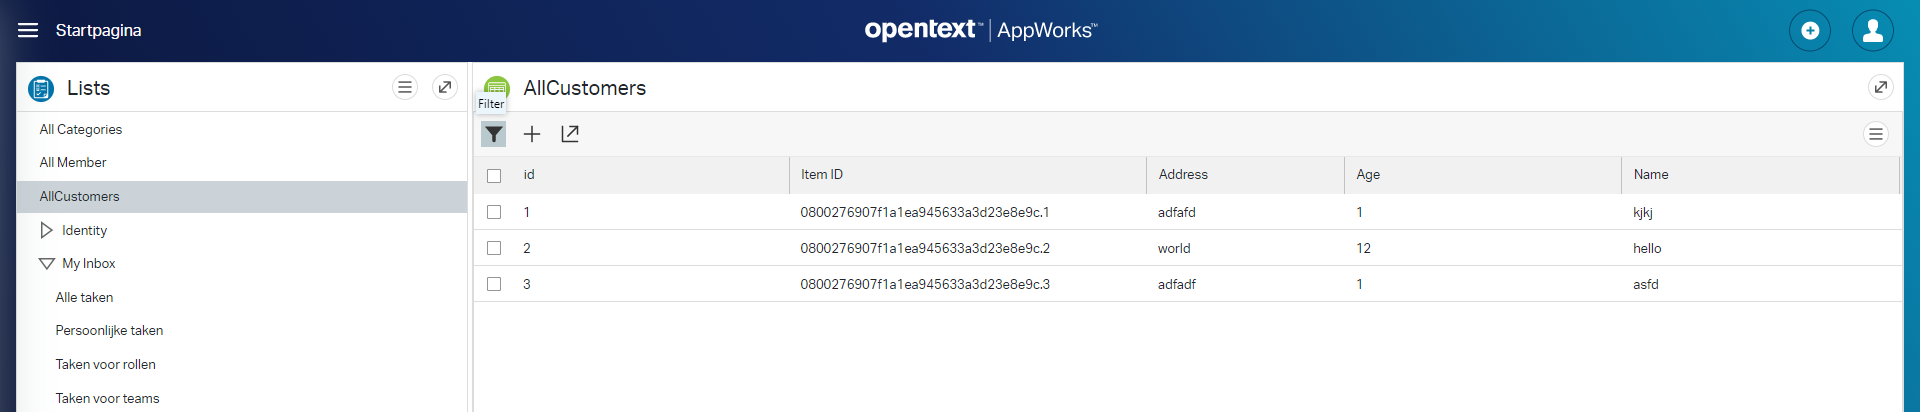
After creating some instances, the result looks a bit like this:
And now that we can create instances like this, it’s a good time to add a row directly into the database!
Use this insert statement as an example INSERT INTO customer (cust_id, cust_name, cust_address, cust_age) VALUES (1, 'hello', 'world', 12);
When you go back to the AppWorks runtime something interesting happens. The row is indeed visible, but there is also in ‘Item ID’ applied to it!
This means there should be some ‘linked’ relation in the AppWorks database where the ‘Item ID’ is saved. This is (by the way) also called a ‘discriminator id’! I would expect to have a table in the database for AppWorks ‘appworks_db’ with the name ‘o2appworkstipsappworkscustomer’, but that’s not the case. So, I was wondering where that ‘Item ID’ is saved, but it might be a step too far for this post…let’s continue!
To help you find it (I did a first try) you can enable the ‘all’ logging in the database configuration
sudo vi /var/lib/pgsql/11/data/postgresql.conf
log_statement = 'all'After this do a tail on the logging
tail -f /var/lib/pgsql/11/data/log/postgresql-Wed.logThis shows you the SQL statements triggered on the database side!
Unlink the entity
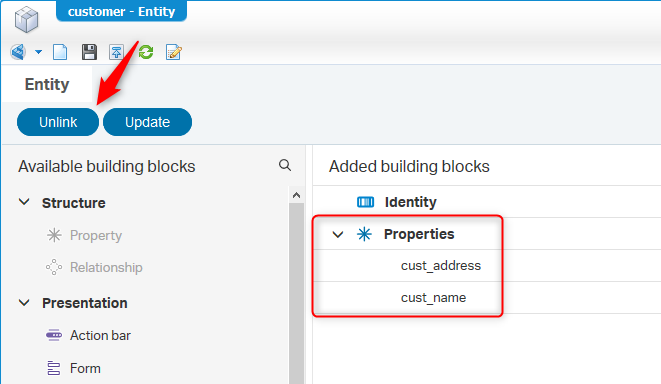
Now the moment of truth…what will happen on the ‘Unlink’ button?….let’s just hit it!
A message as expected…
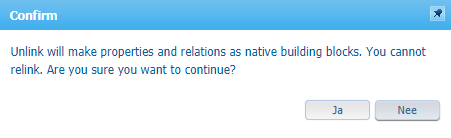
We’ll just click ‘Yes’ and face the consequence of our action!
And see what happens…Indeed all the building blocks are enabled…As expected too.
With that also the database table ‘o2appworkstipsappworkscustomer’ is created, but what about the data?
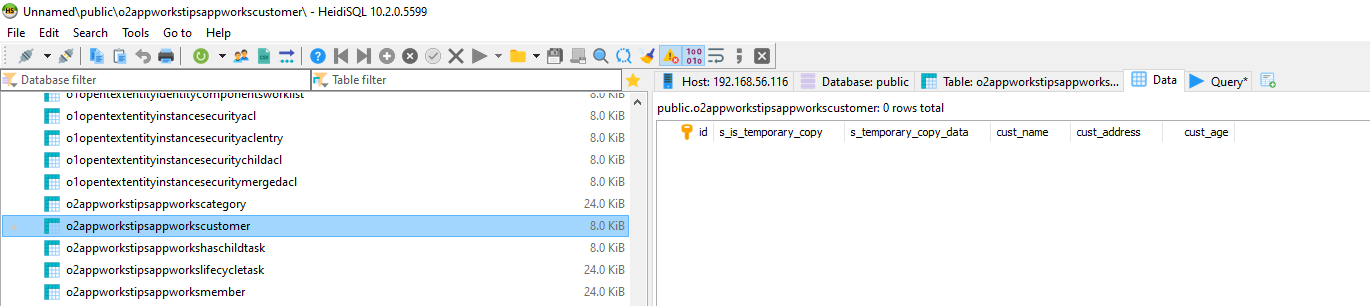
To bad…it’s EMPTY! But a lesson learned for now!
An extra update for next week! As I relinked the entity for next week’s post and I saw that the original data (from the original ‘customer’ table in the ‘metadata_db’ database) is still available and was again available in full glory to our beloved end-users in the AppWorks runtime!
And that brings us to the end of the post where we also give it a ‘DONE’. We learned about linked entities generated from a database source. Great information to know and we learned what happens in the backend of the system. There is more to talk about that ‘Database Metadata’ document and we’ll cover more about the subject. Keep your focus here so you can also join the journey on new AppWorks installments. Have a great day and I see you in the next post.
Don’t forget to subscribe to get updates on the activities happening on this site. Have you noticed the quiz where you find out if you are also “The AppWorks guy”?
