
Hi there AppWorks fans,
Welcome to a new installment of AppWorks tips.
Today we take a better look at the source control (SVN) integration with AppWorks. This makes it easier to work with multiple developers on one project as locks will be applied when you work on features. It’s also easier to synchronize between multiple workspaces and every developer can have his/her workspace to work with.
Let’s get right into it…
First make sure the environment is up and running. Make sure you also installed and run SVN like we posted in the ‘The lazy installation to make SVN available’. If everything is ready you should be able to open this URL in the browser and see SVN is running: http://192.168.56.107/svn/repo1/
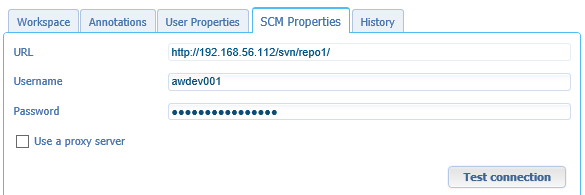
Now open the AppWorks platform CUSP and open your workspace with corresponding project. If you followed all the posts, you had your workspace hooked up to the SVN instance. You can check this by opening the workspace properties and view the Source Control Management properties tab.

If this information is available, you should also see these buttons in the workspace
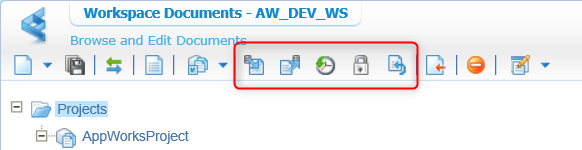
From left to right:
- Incorporate Changes from Others (Pull-request)
- All changes pushed from other developers to SVN will be merged to your workspace
- Make Changes Available to Others (Commit/Push-request)
- All your changes will be committed/pushed to SVN, so it is available for other developers
- Show change history
- The changes that are made to the SVN (All the commits with log messages)
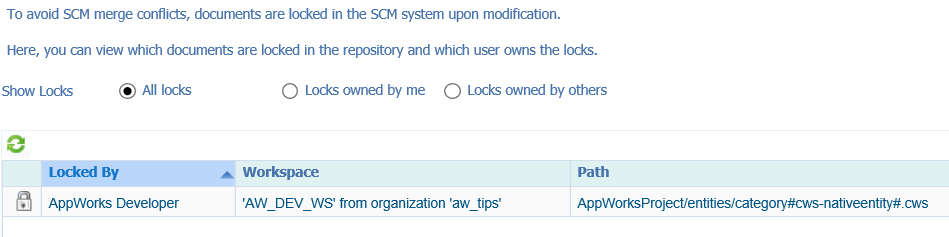
- Show Locks on Repository
- When a developer works/opens an entity, a lock is placed in the instance so it can’t be changed by 2 developers at once. This feature gives you inside on who is responsible for the lock so you can contact the person
- Revert local Changes (Revert-request)
- If you made the incorrect changes and want to get back to a version that was committed to SVN this is your option
If you followed the blog posts from the start you should have a project where you created you first steps for an entity foundation with all the relations setup and some basic forms to create instances of the entity in the end-user UI. This foundation is a good start to make our first commit to SVN.
So, hit the button ‘Make Changes Available to Others’ and see the magic happening!
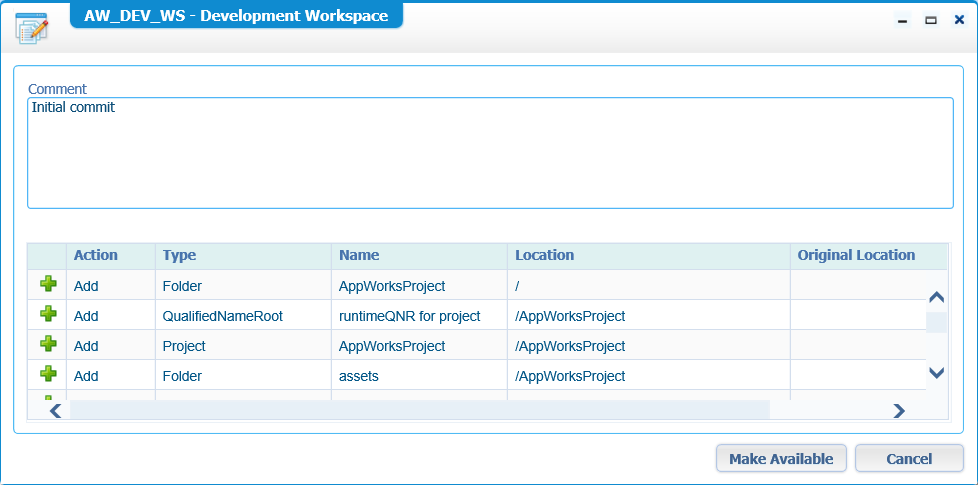
Give a nice comment and then it’s time to hit the ‘Make Available’ button.
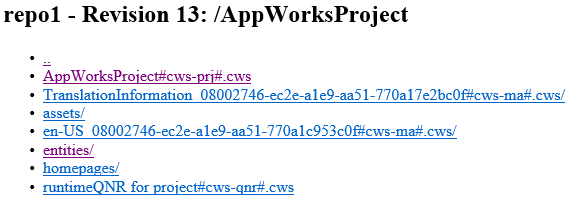
And after that we can check the SVN repository where you can see the same information as we saw when we played with the ‘synchronization’ feature that made these files available on the VM local storage!
Now what?
There is more to explore by hitting the small ‘Show change history’ button. Again, you see the magic happening…
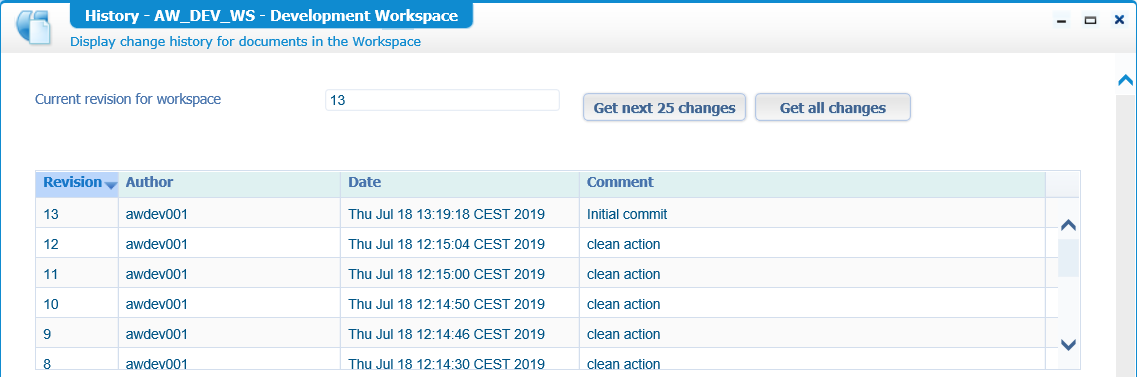
Now you also see why that revision number is not just a 1, but already 13 in my case because other projects needed to be cleaned to make this nice blog post works as it should be! 😜
Let’s edit an entity now and make sure you add something nicely. Opening is not enough; you need to be able to save it, but don’t save it yet!
While the entity is open and unsaved hit the button ‘Show Locks on Repository’
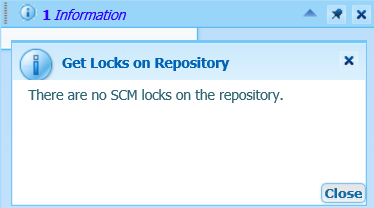
Close the unsaved entity and don’t save it. Refresh the SCM locked panel and you should get a nice information pop-up on the side.
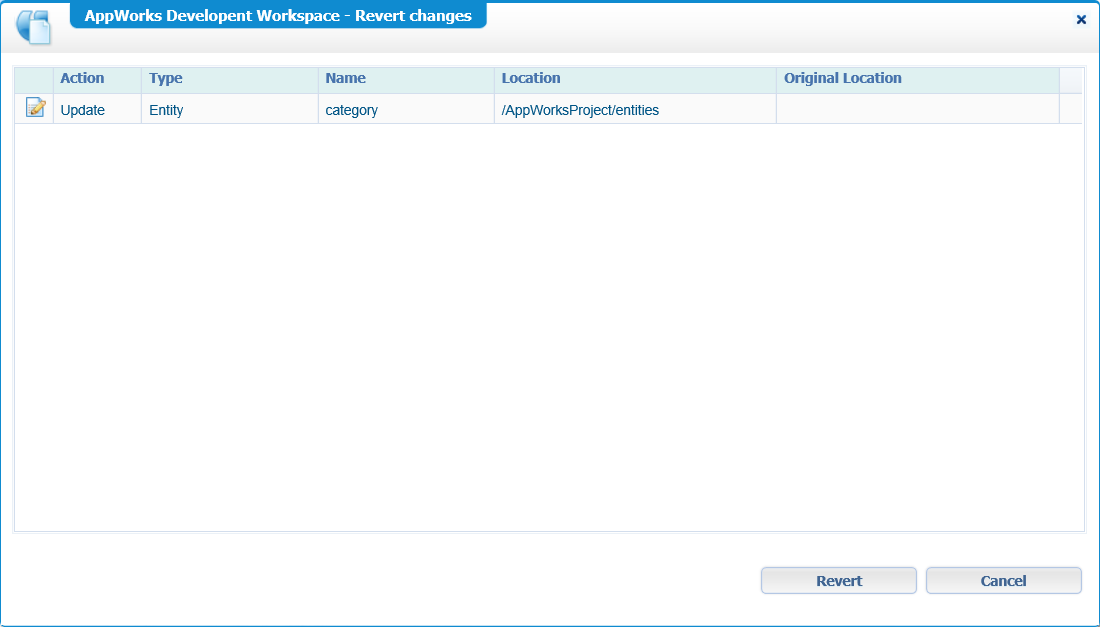
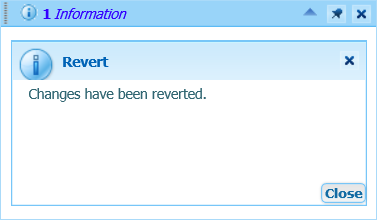
No change on entity for real with a real save action! It doesn’t matter what it is as we will revert things with the ‘Revert local Changes’ button. Select what you want to revert and hit that button!
And there you should have a notification again and you can check if the changed entity is back to the old state.
Next 2.0 step (for example a new second developer) is the creation of a new workspace based on the existing SVN project!
So, let’s go to the ‘Organize Workspaces’ artifact and create a new workspace and follow the screens.
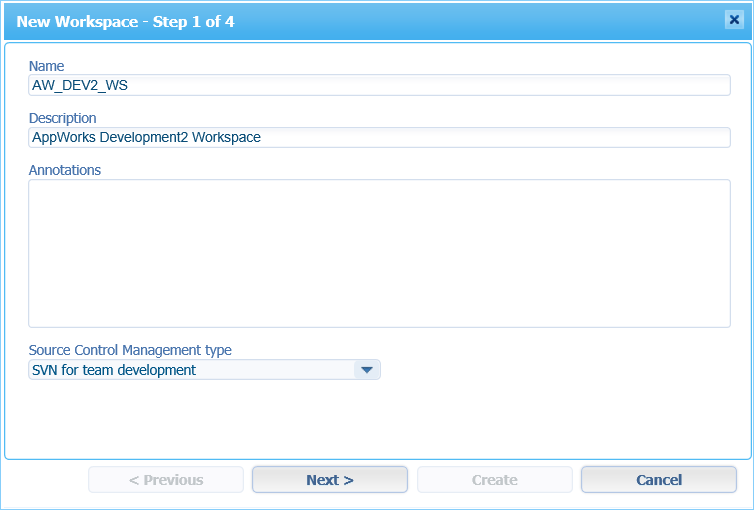
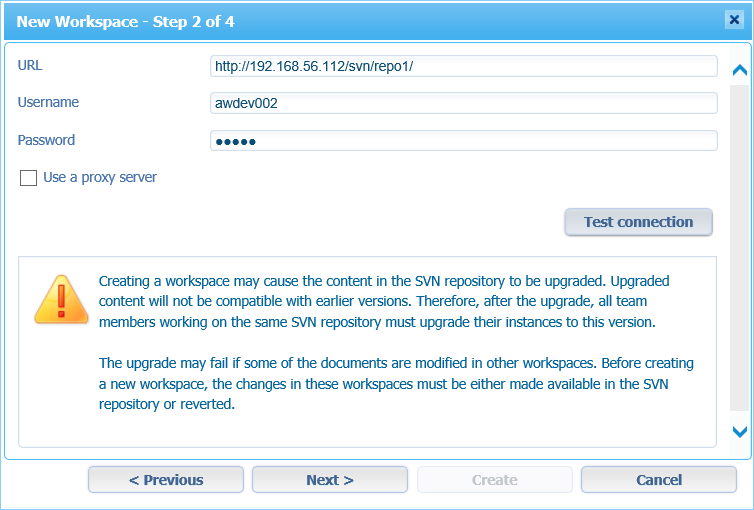
Make sure you use the same SVN location, but this time the second SVN developer account. It you didn’t create this user you can do it like this on the VM: sudo htpasswd -m /opt/svn/svn-auth-accounts awdev002
You see that the ‘project creation’ is skipped now as the SVN project will be used!
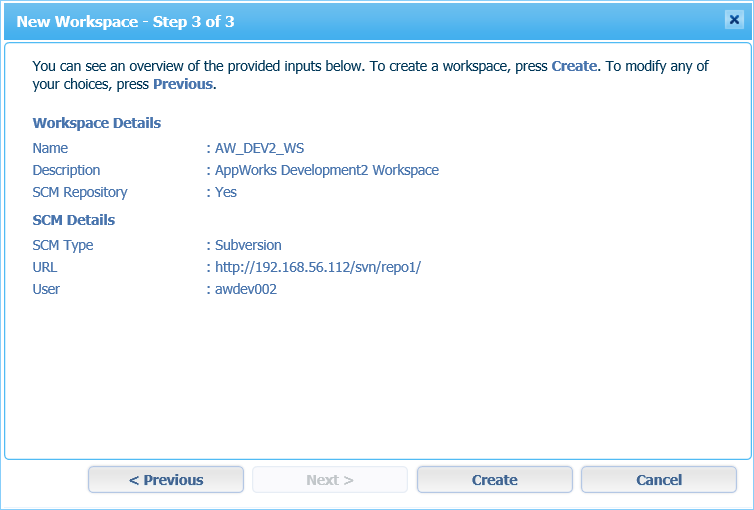
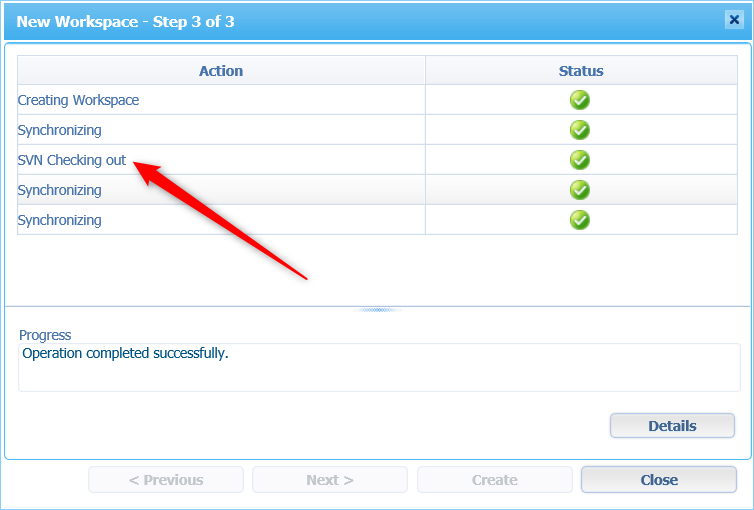
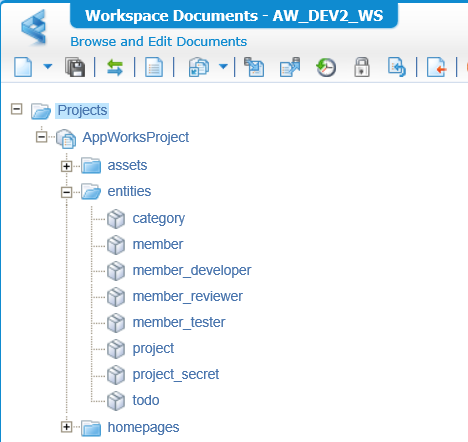
And there it is….Our second workspace with the checkout project!
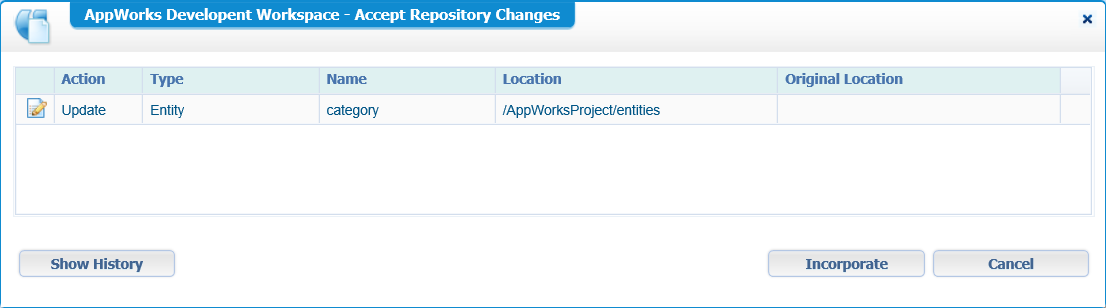
Now we can change stuff here make it available to SVN as we already did. The other developer (awdev001) can that off-course use the ‘Incorporate Changes from Others’ button to make his/her workspace back in synch by hitting the ‘Incorporate’ button in the below screenshot.
And that, my AppWorks fans, makes the circle complete for the SVN part…Hooray!
In this installment of AppWorks tips we learned how to connect SVN to our workspace and how to collaborate with multiple low-code developers from 1 source. In the next post we will learn how entity identification can make things easier for the future! See you next time…
Don’t forget to subscribe to get updates on the activities happening on this site.
