
Hi there AppWorks fans,
Welcome to a new installment of AppWorks tips.
Today we will take a closer look on the synchronization options for a workspace. This makes it possible to extract the created data from the AppWorks platform to a local folder on the server. When it’s synchronized to the local storage, we are freer on what we can do with it. For example, copy it to another Workspace local folder location on another server and synch it back into the AppWorks platform! It’s also possible to just put in on your backup drive or add another source control system to it like for example GIT.
Let’s get right into it…
Open your workspace ‘AppWorks Development Workspace’ from the AppWorks platform URL http://192.168.56.107:8080/home/appworks_tips with the username ‘awdev’ and password ‘admin’. In that workspace you see a ‘synchronization‘ button.
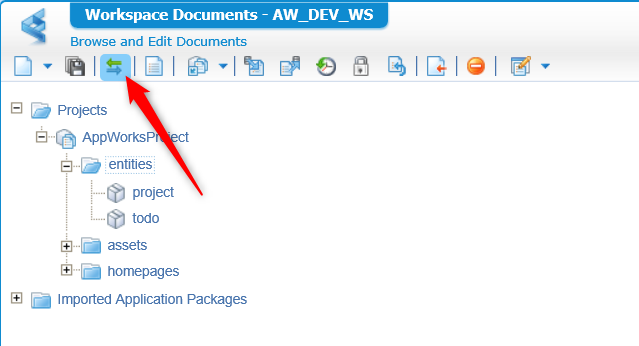
Hit that button like a bro and let the magic begin!
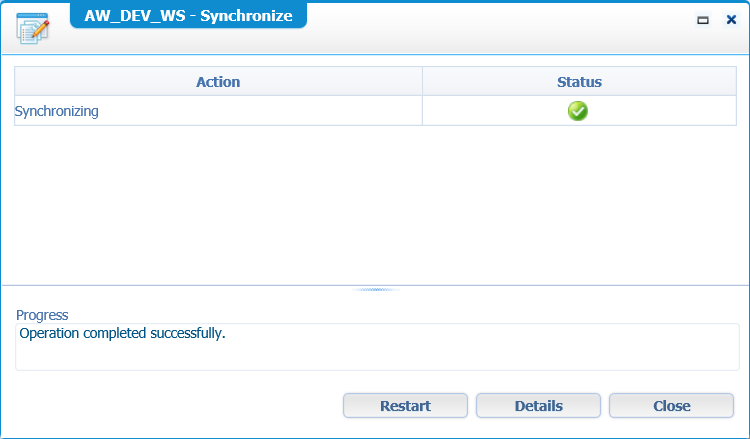
Ok….and now what?
You can check the ‘Details’, but we can also take a deeper dive on our AppWorks Platform VM that we use for our explorations.
So make sure you make a connection to the VM with PuTTY or MobaXTerm with the ‘sysadmin’ user with password ‘admin’ that we used for installing the software (We already described this in previous posts so you should be able to search for that)
Now go to the ‘cws’ directory: cd /opt/opentext/AppWorksPlatform/defaultInst/cws/sync/
CWS = Collabarative WorkSpace
Give the ll command to get a listed view for this directory and you will see you can continue cd to this location: /appworks_tips/AW_DEV_WS/AppWorks\ Project/
And this path matches exactly what we already created in the front-end UI!
An ll -a on this deepest level will give you this screen:

If you enter the /entities folder you should be able to check on the ‘Project’ and the ‘ToDo’ entities that we created in a previous post.
All the .cws files you see are system generated and you should leave them alone. Only update content from the front-end and then synch to the file store.
Maybe you also noticed that there is a .svn folder available at /appworks_tips/AW_DEV_WS/ . Make sure you list it with the -a flag ll -a. This is because we connected the workspace to SVN. Leave also this folder as it is because the platform will take care on it.
With all this information in place you can imaging the following backup and restore case:
- Make a backup from this synched folder structure
- Create a new VM from scratch
- Create a new workspace with project pointed to the same SVN location where you make sure that the naming of your workspace and project are the same as from your backup
- Make one clean synch from this new workspace to the local storage of the new VM
- Then copy your backup over this synched data
- And as final step hit that ‘synch’ button again in the front-end to load the backup back into the platform!
Now we know how synching is working. Would it not be nice that the synch is always happening when we start deploying our solution, so the build is always in synch!?
That is what we call ‘Automatic synchronization‘
Enter the front-end platform again, open the workspace and you should see this bright and shining button called the ‘Workspace properties’
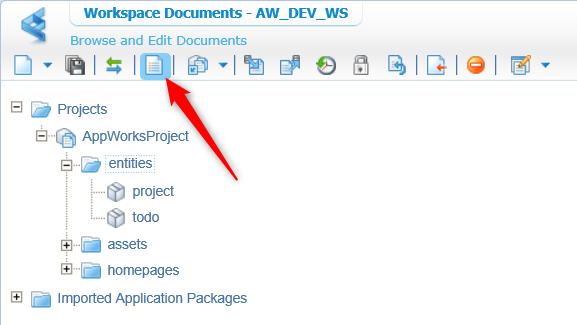
Hit it so see the next screen where you will find a ‘User Properties’ tab with a setting we always wanted to have!
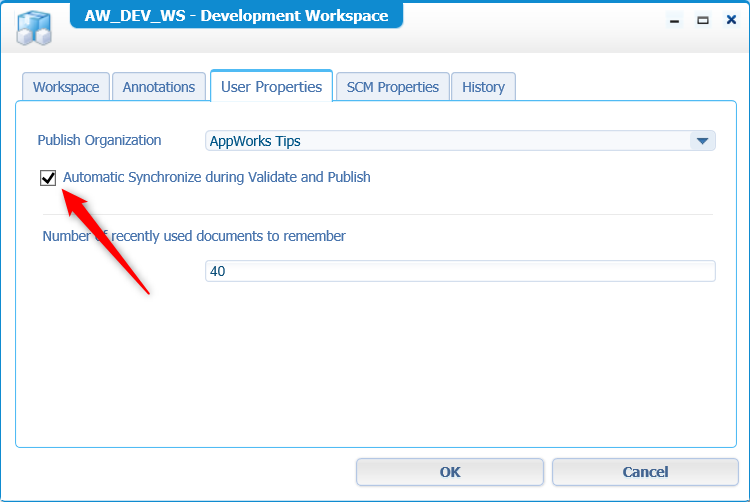
After marking it you can hit ‘OK’ to save the setting…
And that gives us a well-earned ‘DONE’ on synching data from the AppWorks platform to the local filesystem. Keep up the good work and give it a call for today. CU the next time on a new post on AppWorks installments.
Don’t forget to subscribe to get updates on the activities happening on this site.
