Hi there “Process Automation” fans,
Welcome to a new installment of “Process Automation” tips.
This guide will help you install Oracle Virtual Box on a local laptop. Not the hardest thing to do, but nice to also check out what is created during this installation.
This post is the first part of the series for ‘“Process Automation” installation in 10 great steps’
This is the list of ingredients we are going to use:
- A laptop with Windows 11, 32Gb memory, 1Tb SSD and an i7 14-cores (20 threads) CPU
- The ‘Oracle Virtual Box’ software downloaded from virtualbox.org
NOTE: We install version 7.1.4 in this post, but I moved back to Oracle Virtual Box 7.0.20 because of network issues. Read about it here
Let’s get right into it…
Go to the VirtualBox download website and hit that download link for the ‘Windows hosts’ for version 7.1.4
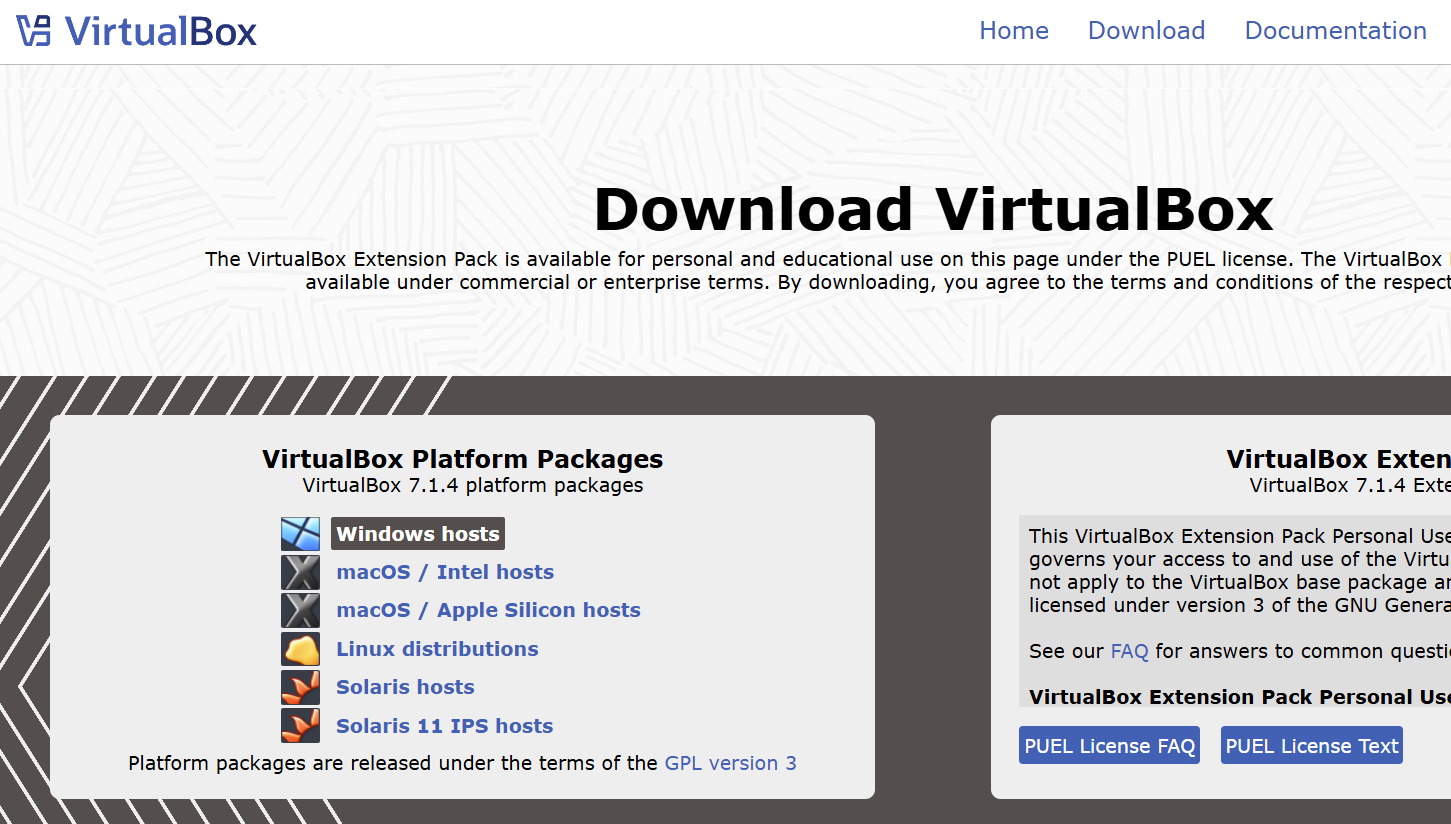
After a ‘DONE’ download, you will have a file called ‘VirtualBox-7.1.4-165100-Win.exe’ in your download folder. Right-click the file and choose the ‘run as administrator’ option.
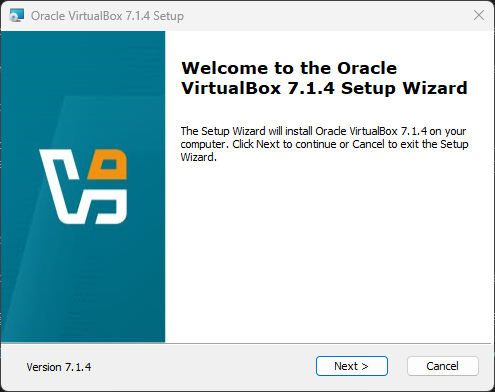
Click ‘Next >’ to accept the license agreement.
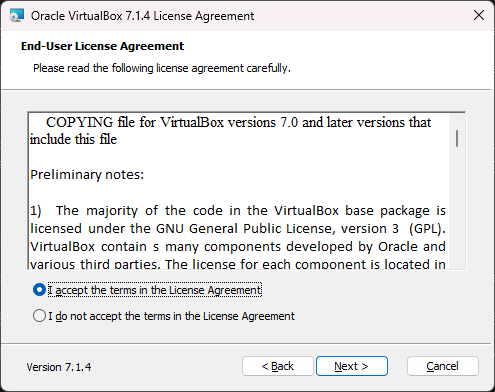
Click ‘Next >’ to start the setup procedure.
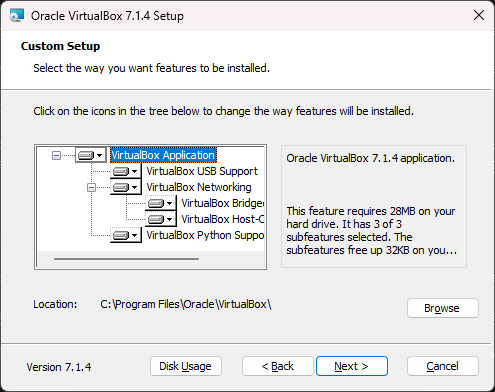
Leave all the fields as default and click ‘Next >’
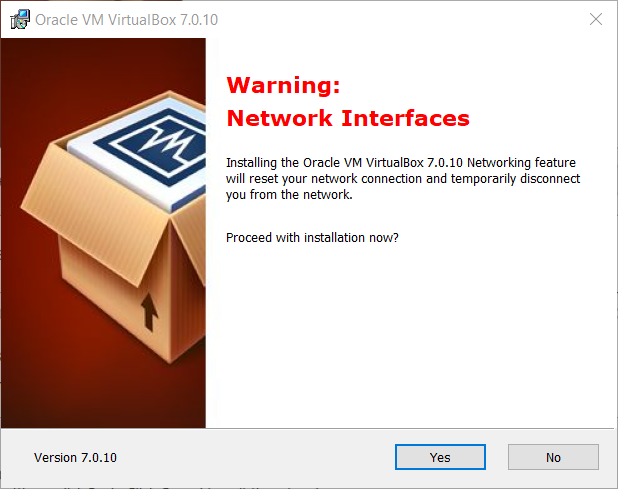
Take notion of the warning and hit ‘Yes’ when ready.
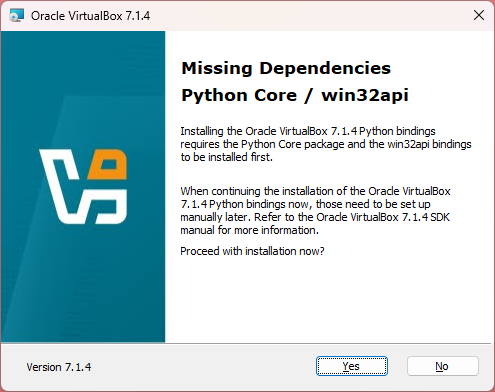
Get informed and just hit ‘Yes’; We’re not using this API thus we don’t need any Python installation!
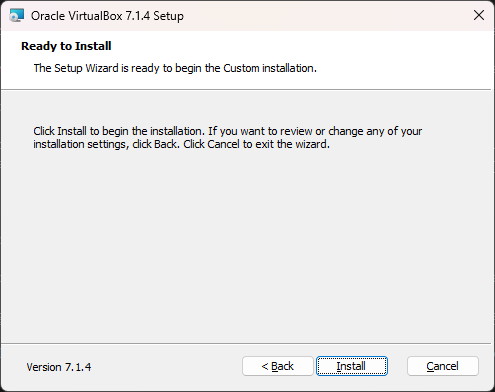
Hit the ‘Install’ button to start the installation of the ‘VirtualBox’ software.
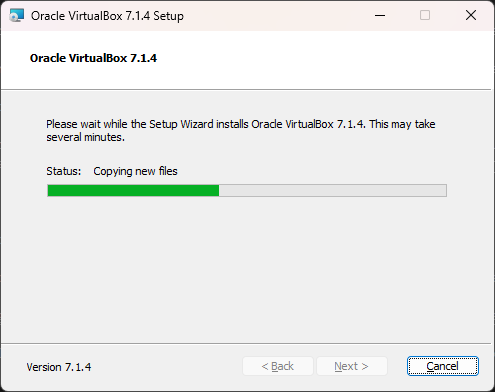
You get this screenshot too when it is a first time installation:
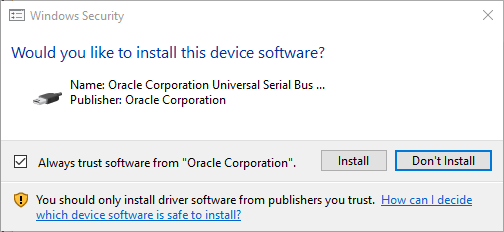
Click ‘Install’ when you see this pop-up during the installation. It’s the USB support for your VM images.
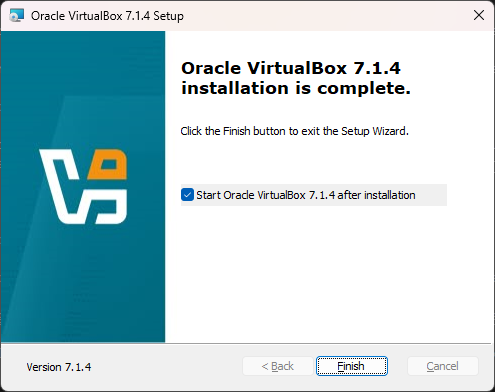
Click ‘Finish’, finalize it all, and immediately start ‘Oracle VM VirtualBox’.
Now what is installed in the background?
Start by opening the ‘Device Management’ of Windows 10. Hit <Windows-key>+<r> to get the run-screen and type: devmgmt.msc
Under the ‘Network adapter’ you should see a new network device called ‘VirtualBox Host-Only Ethernet Adapter’. This adapter is used to be able to make a network on your local machine with the image created that used this adapter. This makes it possible to contact the image from your local machine.
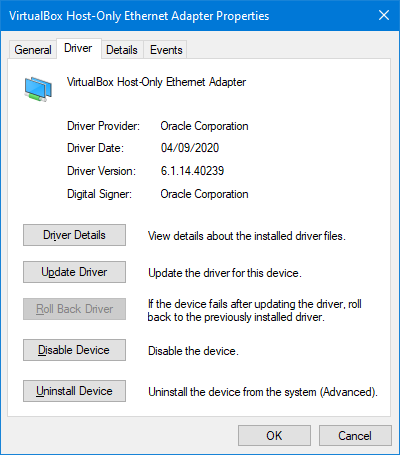
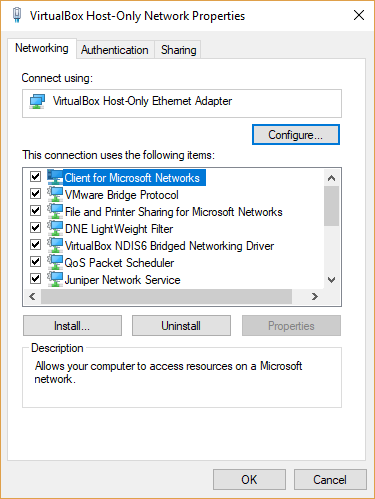
The same adapter can also be found in your control panel setting for Windows 10. Control Panel\Network and Internet\Network Connections
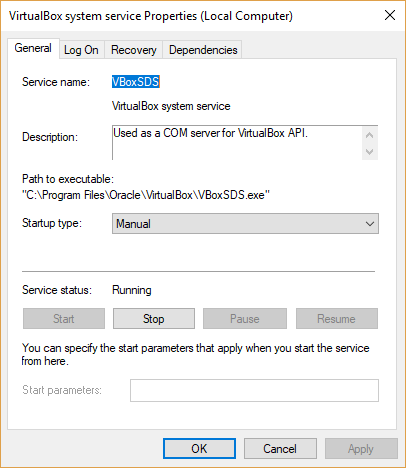
There is also a Windows service installed. This can be seen by running the services.msc command in the run-screen <Windows key>+<r>. This service provides VBox services to expose the VBox API to your local machine. This way a developer can make calls to your VM images by custom created software.
Another nice thing to check out is to open the ‘Command Prompt’ with cmd.exe on the Windows run-screen.
In the ‘Command Prompt’ give the command: driverquery /FO list /v > c:\temp\drivers.out
This will write data to the ‘drivers.out’ file. When you open the file and search for ‘VBox’ you will get 4 driver modules:
- VirtualBox NDIS 6.0 Miniport Service
Network Driver Interface Specification - Wikipedia
An Application Programming Interface (API) for Network Interface Cards (NICs).
This is the service driver that makes communication available to your network interfaces, so a network can be created with from your local machine to your VM image. So IP addresses will be given to the image properly.
- VirtualBox Service
The service driver that makes it possible to run an VM image on your local machine. It calls the virtualization technology from your local machine.
- VirtualBox USB Monitor Service
A service for handling the USB connected devices when connected to your local machine and if they also should be accessible from within your VM image.
- VirtualBox NDIS6 Bridged Networking Service
A bridged network connects a VM image to a network using your local machine’s Ethernet adapter. It’s all handled automatically, so a connection can be made possible between local machine, and the VM image.
This concludes the installation steps for ‘Oracle Virtual Box’. We give it a ‘DONE’, and I will see you on the next post where we will create a brand-new image for our “Process Automation” setup. Have a nice day.


