
Hi there AppWorks fans,
Welcome to a new installment of AppWorks tips.
Maybe you already know, or maybe not, but as I always get the question on how to create those nicely crafted progression bars in my solutions. I will describe all the required information in this post. It’s not hard to configure, but you just have to know where to find it.
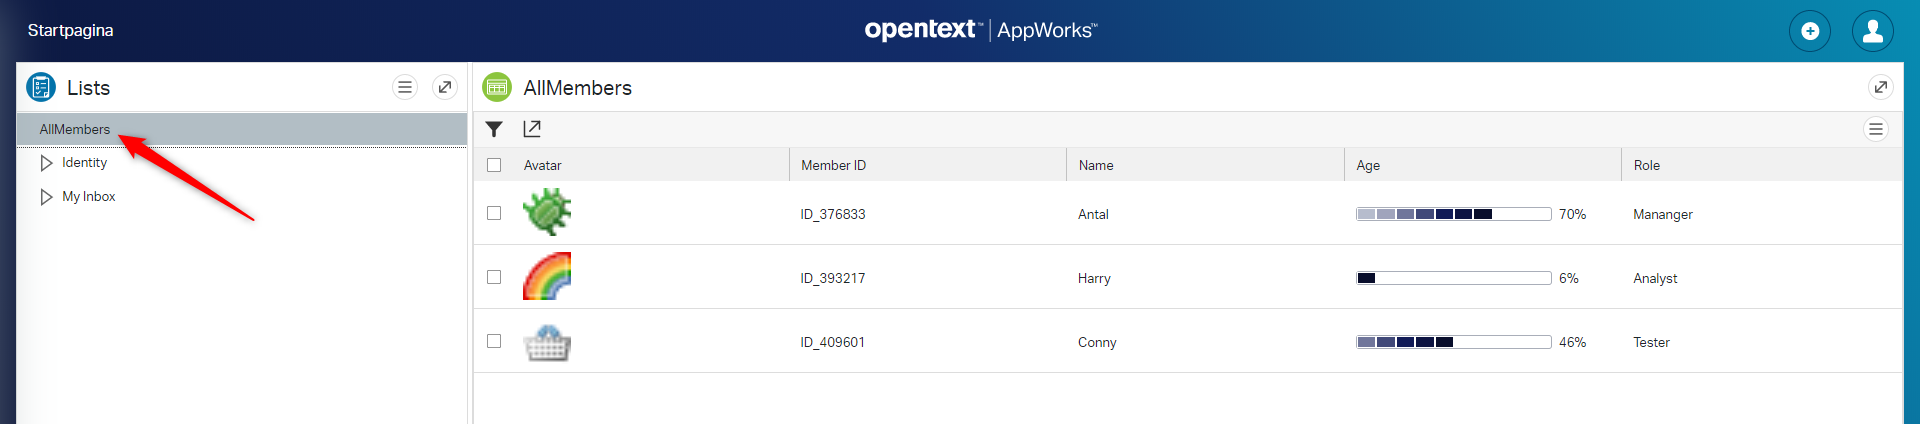
This is how these bars look like:
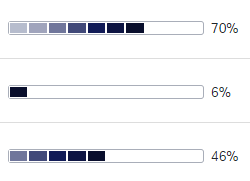
This feature is also described in the PDF documentation when you search for ‘Tracking form progress‘. This post will take it one step further where we will describe these bars in 3 use-cases!
- Show the progression in the list of entities
- Show the progression on a form.
- Show the progression of the lifecycle states
Let’s get right into it…
Spin up the environment, open the AppWorks ‘Explorer’ with our developer roles user ‘awdev’ and start with this first use-case for a ‘List’ view.
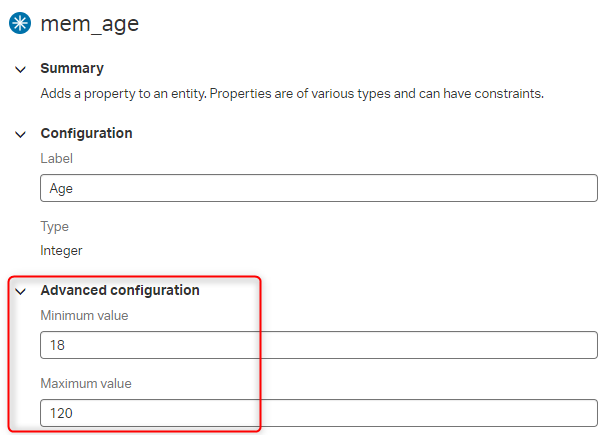
From last post (where we added all kind of nice properties) we have one ‘Integer’ property available in the ‘Member’ entity with the name ‘mem_age’. Make sure to provide it with at least a maximum value. This value is required to detect when the progression bar reaches the 100%.
Configure the property for example like this:
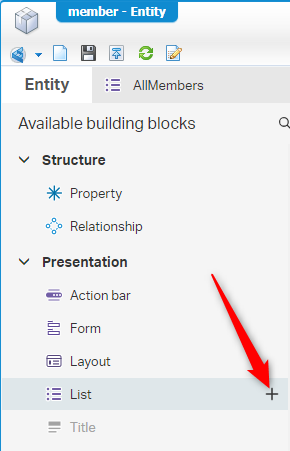
Now we’ll add a new ‘List’ building block
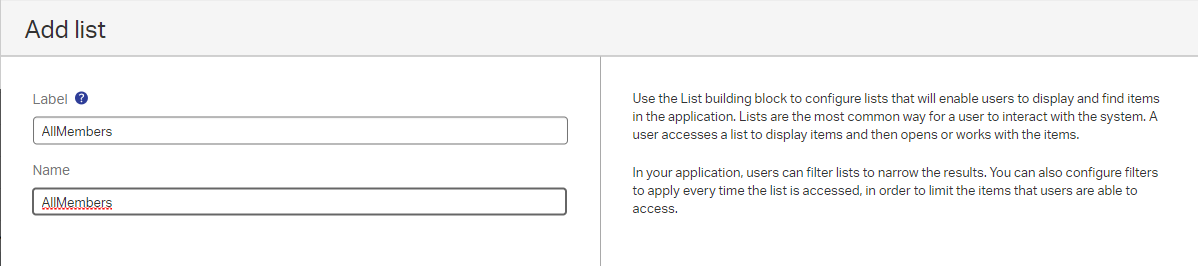
And give it the name ‘AllMembers’ and click ‘Add’
Now mark the next properties in this order from the left panel.
- Properties.Avatar
- Properties.Member ID
- Properties.Name
- Properties.Age
- Properties.Role
If you did it (be accident) in a wrong order you can move it up/down in the list. To enable those buttons, you need to select the name of the property first

Now for the magic progression bar touch!
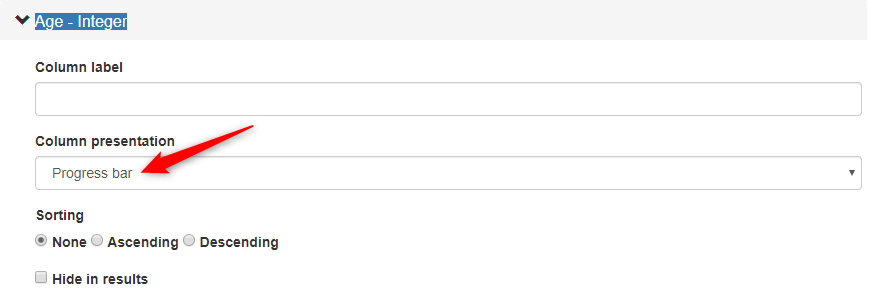
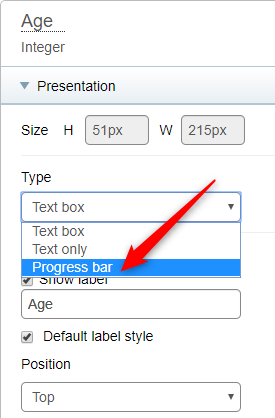
Open the ‘Age - Integer’ and select for the ‘Column presentation’ option ‘Progress bar’
Next thing is to make the ‘Age’ property available on the ‘Create’ form!
I did a small update like this, but you can make it more simply if you like.
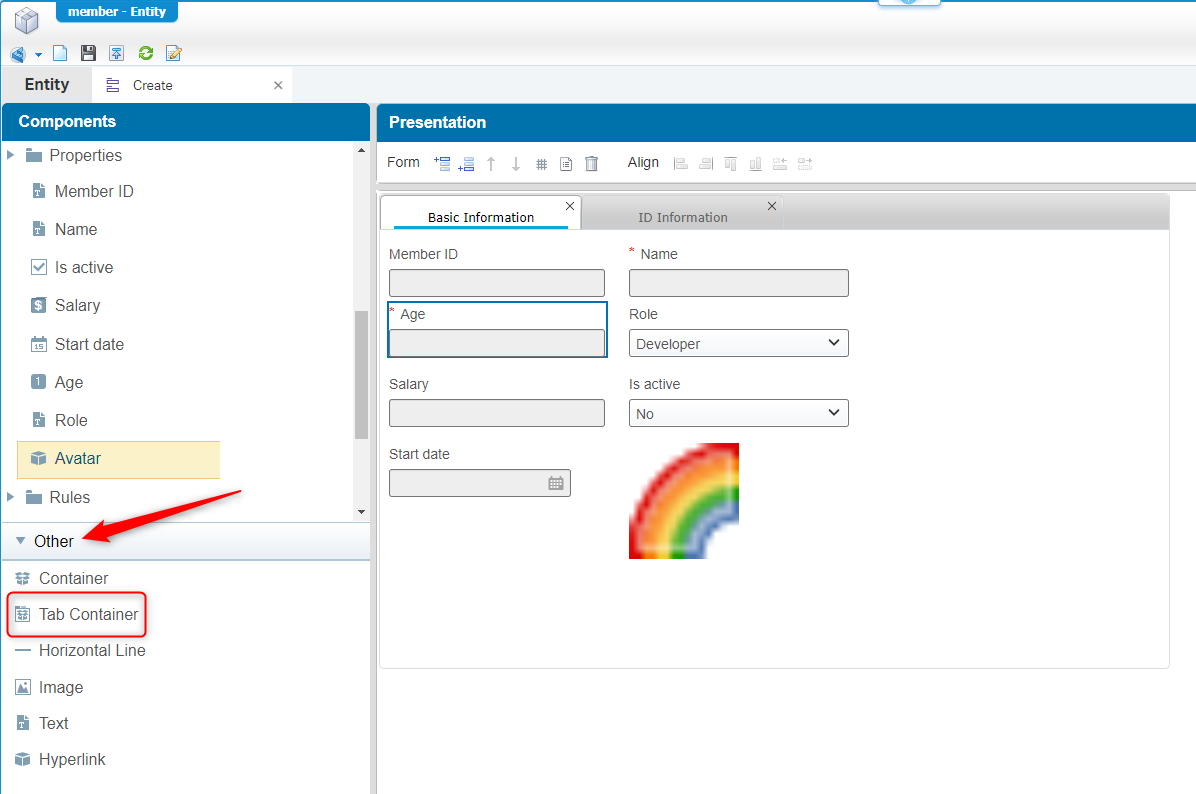
This screen shows also a tabbed container. These can be found in that left panel in the bottom under the ‘Other’ section. See screenshot.
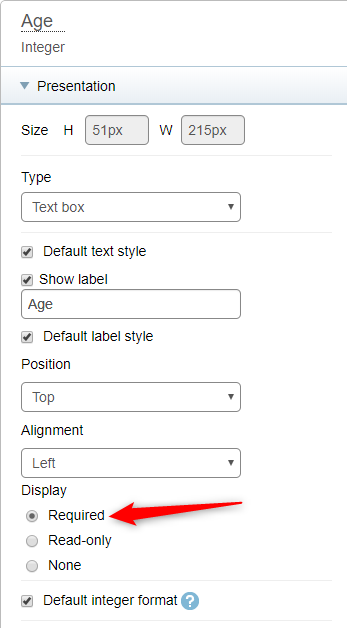
Make sure the ‘Age’ property is available and make it required.
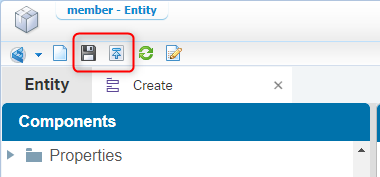
When you’re done, save the entity and publish it.
Go to the front-end UI (/app/start) with our ‘awuser’ account where you will see the ‘All Members’ list being available. Click on it and you should see those results. If no rows are available you need to create some members…duh! 🧐
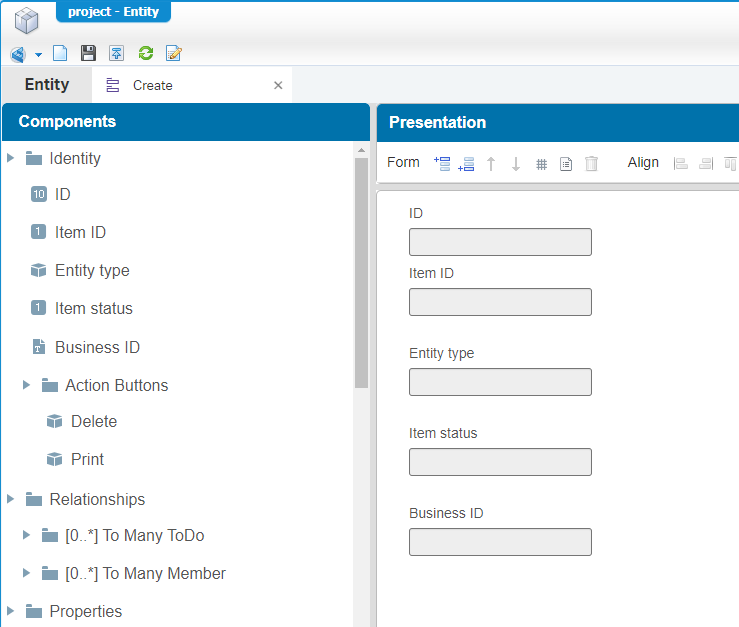
Next is the ‘Form’ user-case. We were really close already! On the form we just updated we could also do a ‘presentation’ change on a property.
Take a closer look the ‘Age’ property again that you need to select on the ‘Creation’ form.
Do you see the change you need to do?
For this ‘Create’ form it’s not very useful to change it here as we want our end-user to provide the age with a required value! The progress bar is just another representation of the Integer value that was provided. It would be a better case when we use the ‘Default’ form to show the bar. Not for now, but you get the point (you can update it if you like, but in our example we reused the ‘Create’ form in the ‘Default’ form and we leave it for now!)
Now for the ‘Lifecyle’ use-case…This is a little more complex, but not undoable with this example!
Let’s jump to our ‘Project’ entity where we have our ‘proj_status’ property available. This property is of type ‘Enumerated Integer’, but with the ‘learned’ restrictions for an ‘enumeration’ field we create a ‘helper’ property of type ‘Integer’ that is updated via ‘Rules’…Don’t worry…I’ll explain…It’s cool stuff!
These ‘Rules’ can also be configured to update an ‘Enumerated Integer’ and even an ‘Enumerated text’ property to keep it all in synch. We will see that in another post. This post covers it for now with the ‘helper’ property!
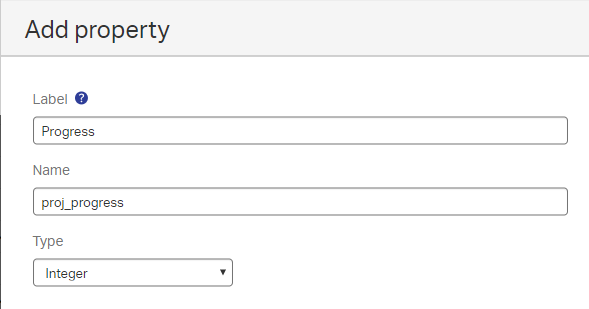
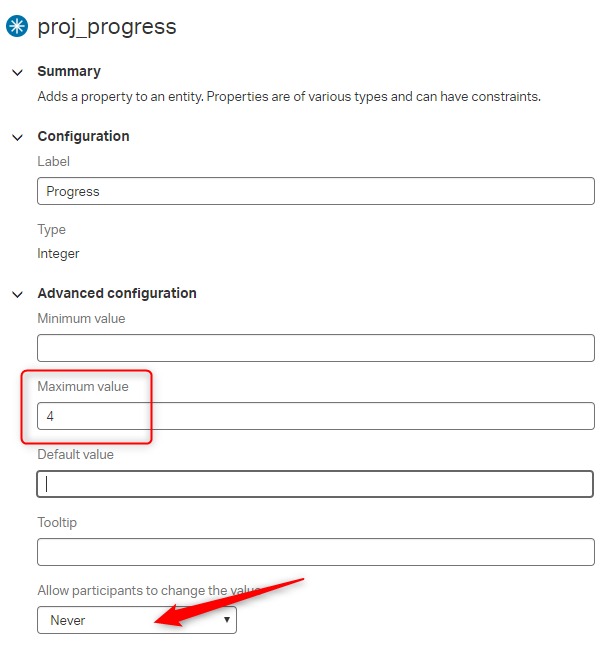
Now add that ‘helper’ property with the name of ‘proj_progress’ of type ‘Integer’ with a max value of 4 (we use the same number of possible values from the ‘proj_status’)
I thought to be a ‘smart guy’ to mark this property as ‘Never’ allow participants to change the value! As this property is just a ‘helper’ property we could have a good reason, but when I made this change I’m not able to set a value to it from the ‘Rule’ building block…See the last step of this journey!
The second step will be adding a new lifecycle.
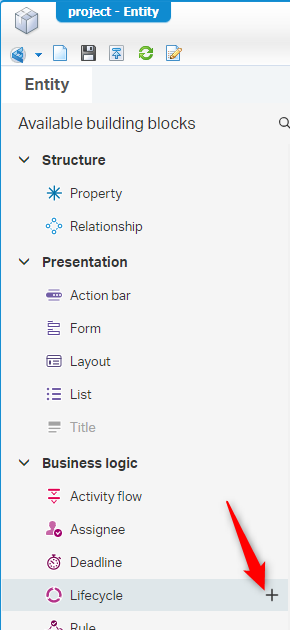
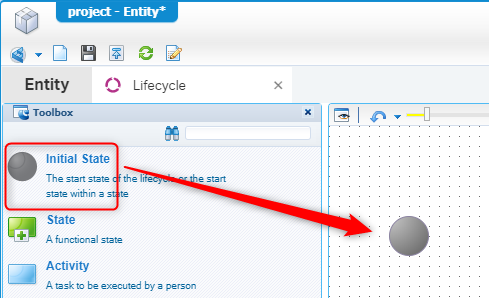
A new panel is opened called the ‘Lifecycle modeler’. Where you start by dragging an ‘Initial State’ on the panel with this result:
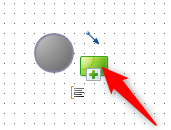
Now click the ‘Initial State’ and select the ‘new state’ action
Continue with this till you have something like this (update the labels too…Please!)

Next step is to add some activities (also update the labels here…with also those numbers and the underscores…We reuse them later with a small trick!)

Don’t you worry about the how/why/when as we will cover more about lifecycles in a separate post!
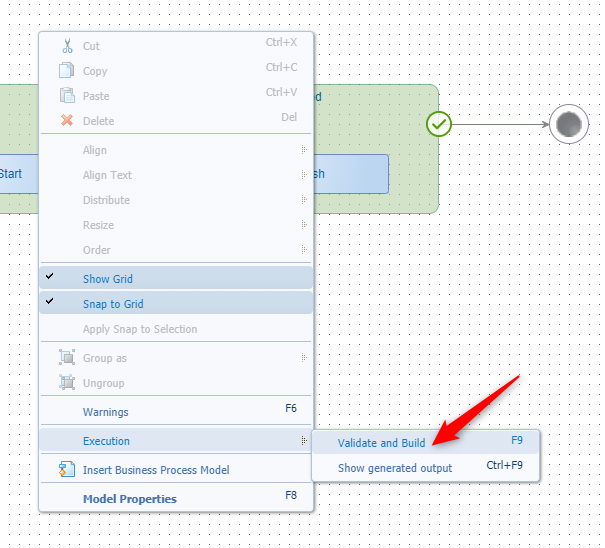
Now save the lifecycle and do a ‘Validate and build’. All should be fine except for some ‘No layout is linked…’ warnings, but it’s fine for now.
Don’t forget to publish the lifecycle to our well-beloved end-users!
The lifecycle will start when you create a new instance of this entity by default. The activities that we added in each state will ‘land’ in the inbox of the person who created the entity (also by default).
Now we need to create 2 forms. The ‘Create’ and the ‘Default’ for the ‘Project’ entity. Make it simple as we only need them to enable the creation and view our ‘Project’ entity instances! Make the ‘Create’ form yourself and use this form on the ‘Default’ form (as we learned from previous posts).
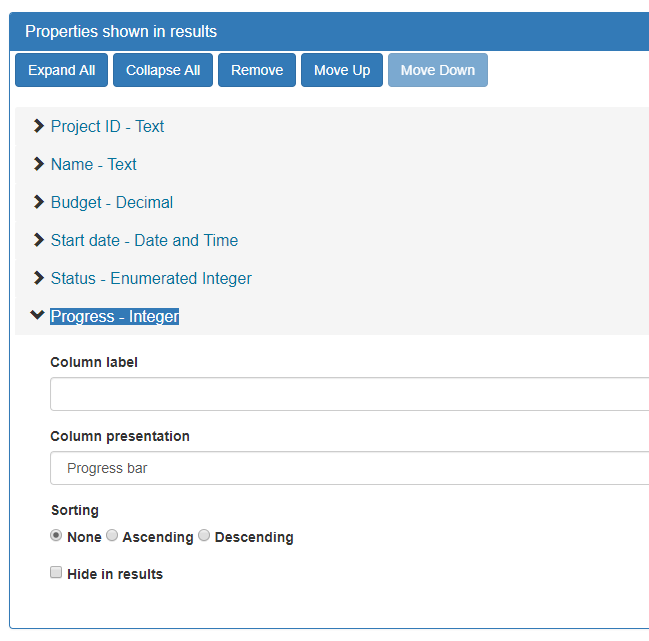
Then we create a new ‘List’ building block with the name ‘AllProjects’ with these columns presented (where you select the ‘Progress’ property as nice progress bar presentation)
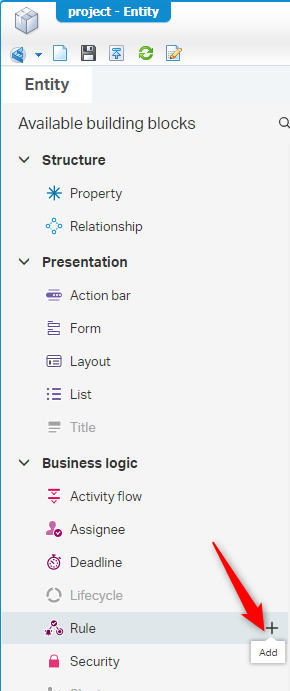
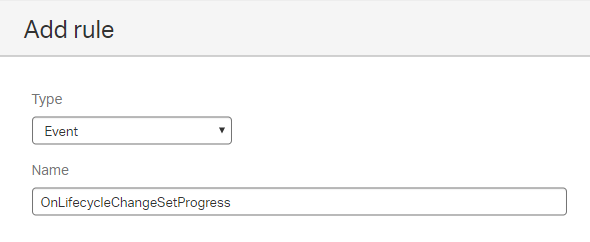
Last step is to create some ‘Rules’ as we need to provide the ‘proj_progress’ with a value when the lifecycle changes it’s state!
Give it a fancy and recognizable name like for example OnLifecycleChangeSetProgress
Set the ‘proj_progress’ property with a value of substring(item.Lifecycle.CurrentState, 0, 1) in the next screen (this is the trick I was talking about!)
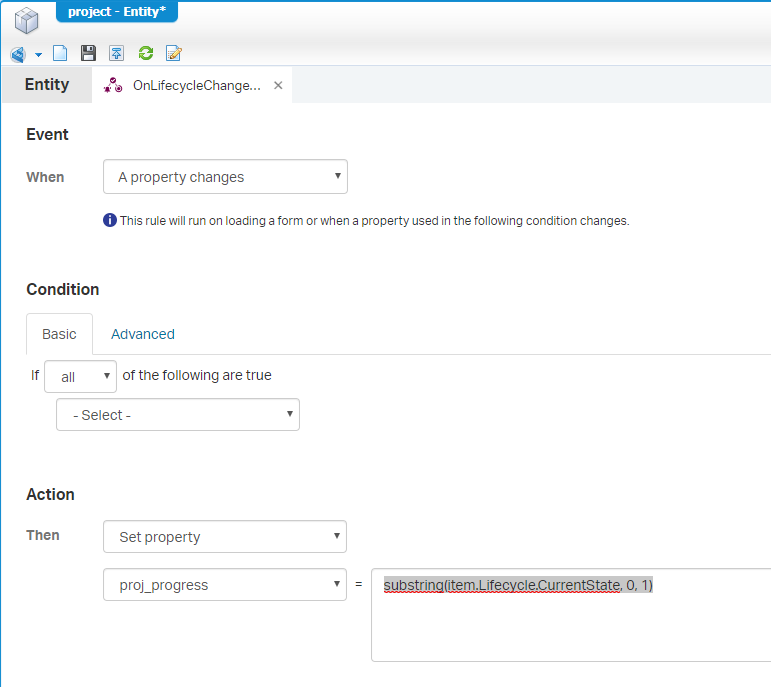
It greps the current state name of the lifecycle. In our case ‘1_Initialized’ and gets the first character. In this case the ‘1’. I know…I know…It’s a big buggy when we exceed the ‘10’, but as a demo it works and we have only 4 steps (and I also see they don’t match the numbers with the ‘proj_status’ enumeration…That’s for you to fix! 👊)
Now save it all and publish…
Time for some final testing…
Go to the front-end UI and create several new ‘Projects’ so you have a view like this:
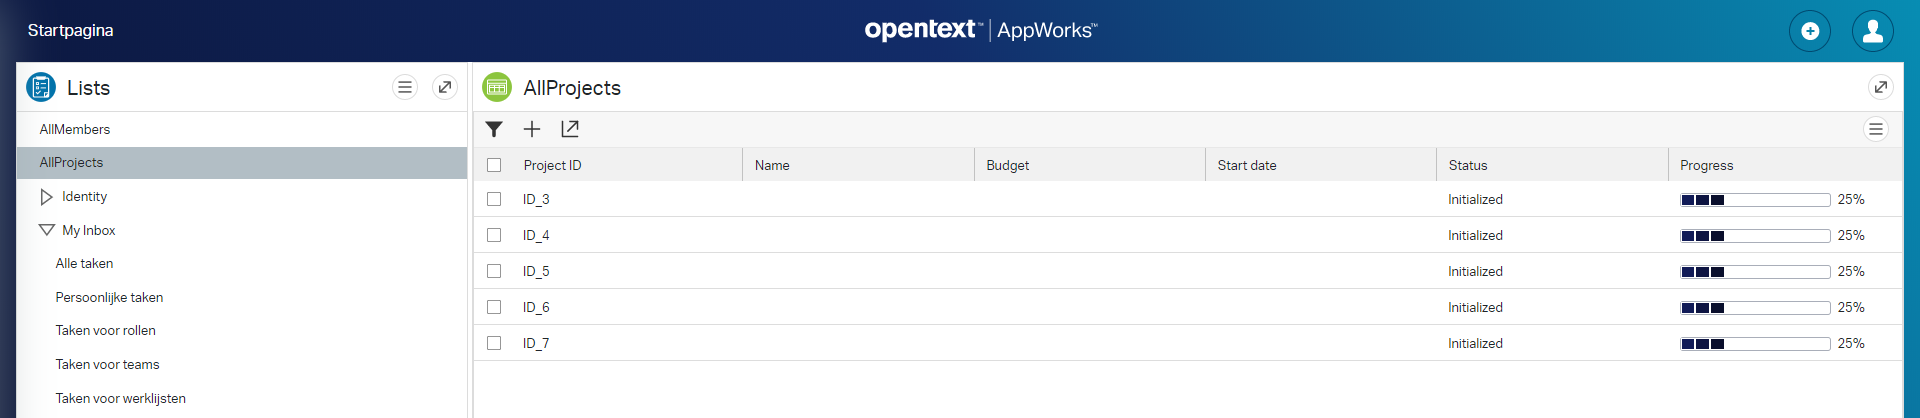
We see already some progress (25%) which means that our ‘Rule’ is applied and the lifecycle is started for each instanced entity…That is a correct assumption…correct me if I’m wrong!?
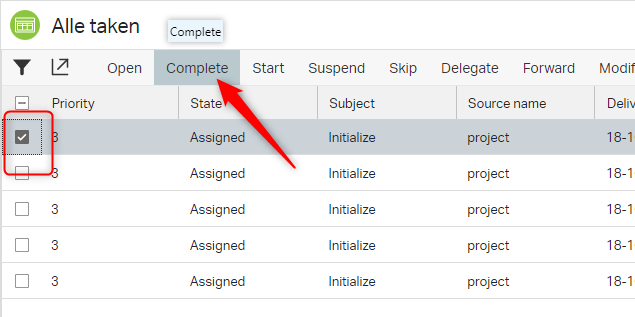
So, we should also have some tasks in our inbox!

Yes…You can call yourself a pro! That is your well-earned second knuckle-bump! 👊
Now mark a task and just complete it. Do this for other tasks too and check the end-result in the ‘AllProjects’ list!
How was that experience…Good stuff…right?…It gives you a well-earned ‘DONE’ for this post. We even learned a bit about lifecycles! Have a great day and I see U in the next one.
Don’t forget to subscribe to get updates on the activities happening on this site.
