Hi there AppWorks fans,
Welcome to a new installment of AppWorks tips.
This time we start with our first publication of our crafted solution to first end users on a development environment…They will be very happy that we finally deploy something…Would they not!? 😏
We will continue the cycle of validation, publication and testing until all features for the solution are implemented and the solution is ready for packaging to the next environment.
Let’s get right into it…
…as there are some steps to do before we can really deploy something useful now. As you will remember we only created the entities like we designed in our ERD and related them to each other. Good stuff for the fundament of our solution, but not yet very useful for our end users. They want a GUI where they can create stuff (like instantiating our nicely low-coded entities!).
One thing we can do at this moment is validating our project!
Validating always a good thing to do. Not only when your done/ready for publication, but also periodically when you are in the low-coding process. It gives you inside when things don’t work as you would have expected. So…
So, spin it all up with our Developer role and enter our project from the workspace panel. Also called the Cordys User Start Page (learned something here! 🤟)
Right-click the project…And there you see it…The ‘Validate’ action!
Hit it like a pro and see that magic happening…
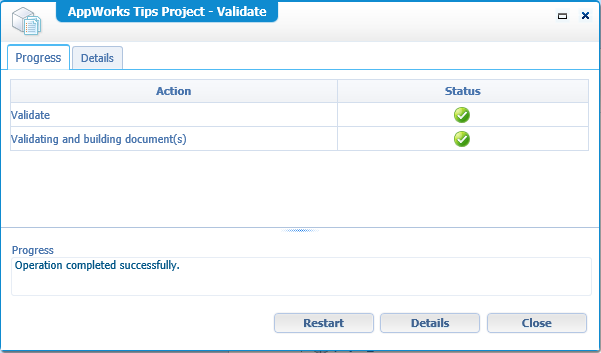
When ^%$&*^# will hit the fan, you will see red crosses and then it is time to check the ‘Details’. For now, we are valid…Hooray!
Logging about this action can be found in this location on the server:
/opt/opentext/AppWorksPlatform/defaultInst/Logs/cws/
Next step would be a ‘Publish’ action, but as we did not craft any nice UI forms for the end user it’s not that useful now (but it is off course possible!).
So, our next step is to create some basic forms for the end-user to be able to create brand new instances of our crafted entities!
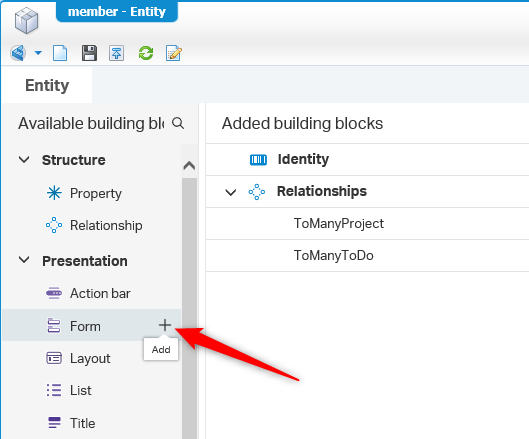
Let’s start with the ‘Member’ entity. Open it up and check out the list of building blocks. It is the ‘Form’ block (under the ‘Presentation’ category) we are interested in now. Create a new one by hitting that plus-sign.
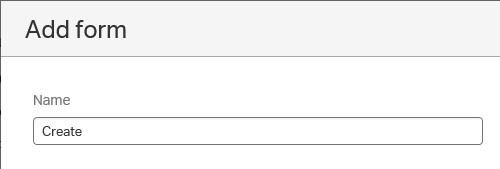
Now give it the name: Create
Now don’t be smart and give it some other name like ‘create’, ‘new’ or whatever. Use ‘Create’ with the capital ‘C’.
Mark the option ‘Add another’ and click ‘Add’. Also, on this new form, don’t be smart, use the name: Default
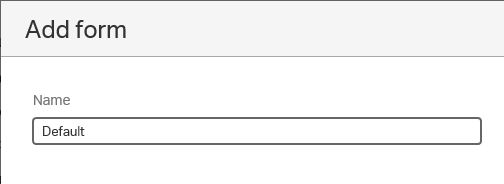
‘Create’ forms are used during creation of the entity. ‘Default’ forms are used for viewing/editing. If you use other names your users are not able to use them…YES…I know!?
Now remove that ‘Add another’ mark and hit ‘Add’. The Default form will be opened now, but we need start with the Create form. So, go back to the building block overview by click the ‘Entity’ tab. Click the Create form and hit the ‘Form designer’ link.
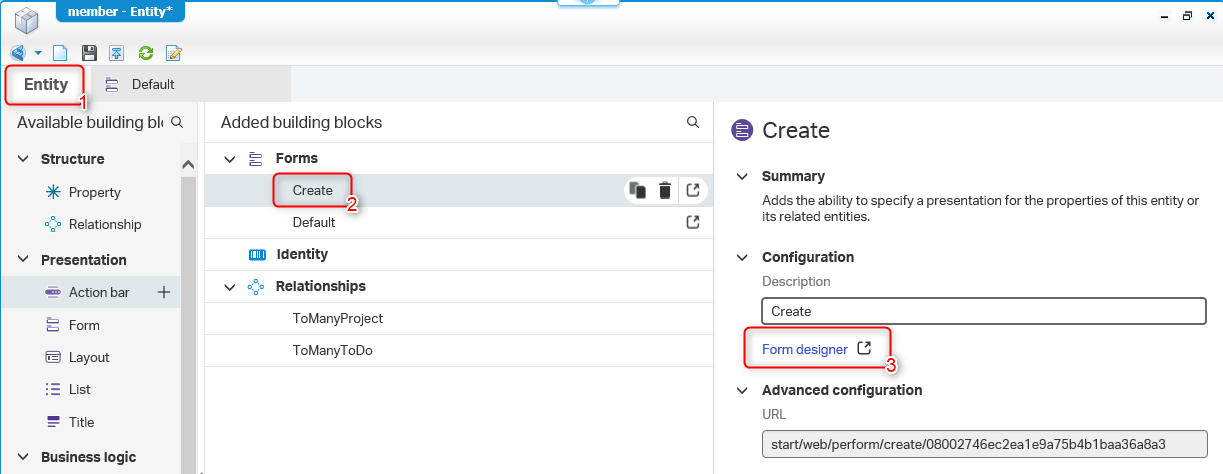
Once we have opened the Create form, we just add the ‘Identity’ information on the form by clicking once on the ‘Identity’. The corresponding fields are added to the form. Good enough for now as we don’t have a lot of other properties to add for now.
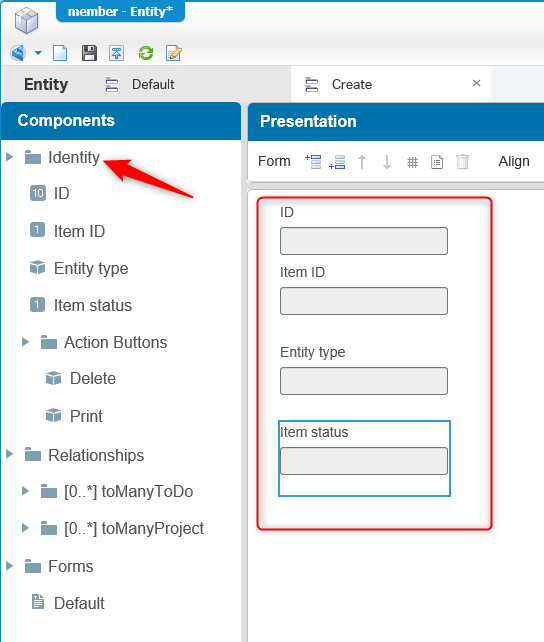
Now we move to the ‘Default’ form. Here we can do the same trick, but we as ‘wise’ men try to reuse things, so what we will do on this form is adding the ‘Create’ form as a container. It’s the fastest thing for now!
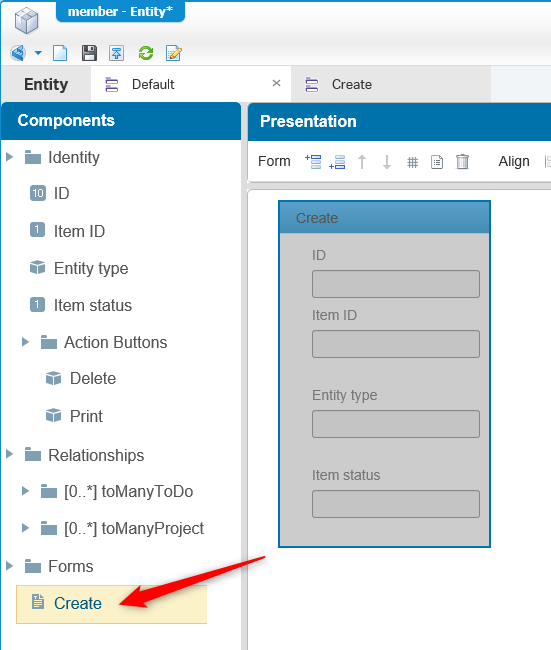
Select the just added container and unmark the option ‘Show container heading’. Now it looks more ‘for real’.
Now save the ‘Member’ entity and do the same for the ‘Category’ entity!
After creating the ‘Create’ and ‘Default’ form for the ‘Category’ entity it is time to do our first ‘Publish’ action, but first?…Validate!
After validation right-click the project again and click ‘Publish to Organization’.
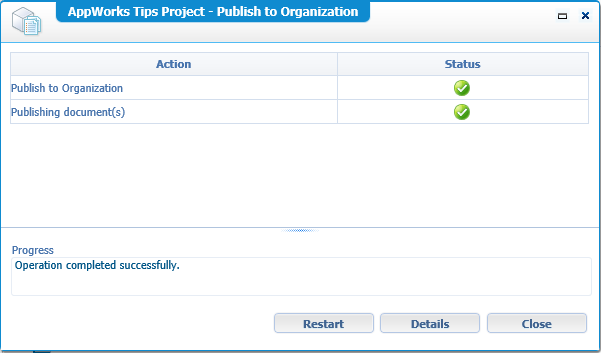
Also, here ^%$&*^# might hit the fan and you will see red crosses. Then it is time to check the ‘Details’. For now, we are in the save zone!
Also logging about this action can be found in this location on the server: `/opt/opentext/AppWorksPlatform/defaultInst/Logs/cws/
Next…Making the solution available for the end-users! This is a 1-time action for the first publication and for this we need the admin app. It is time to introduce you to the URL that looks like this:
http://192.168.56.107:8080/home/{organization}/app/admin
Make sure you are logged in with a user that have the ‘Administrator’ role within your organization! In our case that would be ‘awadmin’ with password ‘admin’.
You will see something like this:
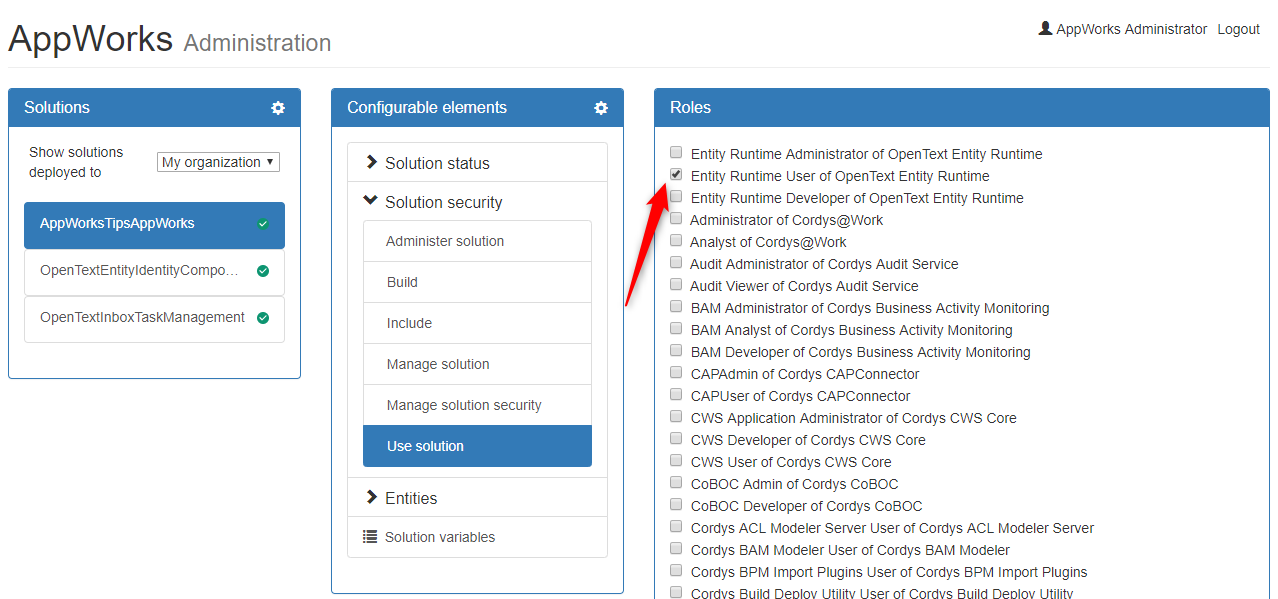
Click on your solution; Open the ‘Solution security’ and click the ‘Use solution’. Now mark the option ‘Entity Runtime User of OpenText Entity Runtime’. Don’t search for the ‘Save’ button as it is not there and just close the admin app (It is all automagically saved!).
Now for the end-user perspective!
Open this URL: http://192.168.56.107:8080/home/{organization}/app/start
Login with a user that has the role ‘Entity Runtime User’ assigned. In our case that will be the ‘awuser’ with the password ‘admin’
You should now be able see a screen like this where you can create new instances of our entities. And off course you already noticed that the ‘Member’ entity was defined as ‘Abstract’ and can’t be instantiated directly, but the subtypes can!
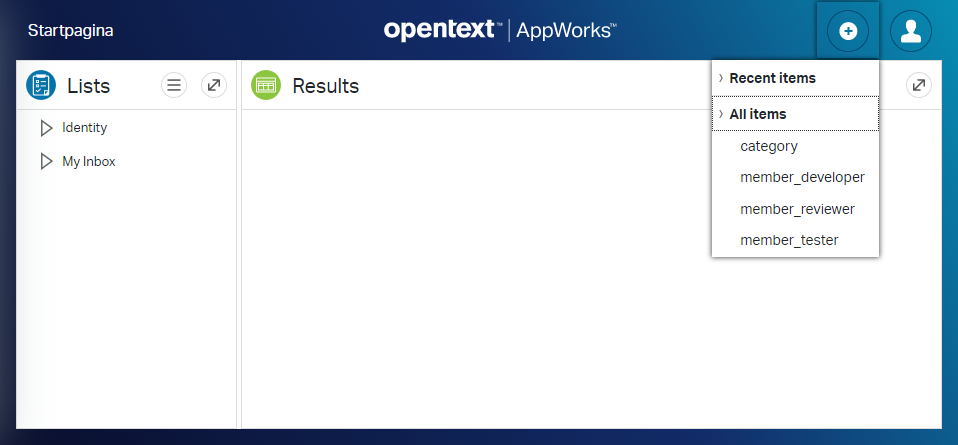
Now just create some random instances of the entities and notice that the ‘Create’ form is used for this, but what about the ‘Default’ form?
For this we normally need a basic list building block on our entity, like you probably would have looked for in the ‘Lists’ panel on the left for our end-user.
But…As we are die-hard low-code developers we’ll go for another approach for now as the ‘List’ building block will be explained in another post.
Let’s open the developer tools of the browser (For this to happen you need to hit F12 on the keyboard). We use the Chrome browser for this feature!
With the developer tools panel open create again a new item and check you what requests are done in the ‘Network’ tab. You should see something like this passing by:
1 | Items(08002746ec2ea1e9a75c9b650856a8a3.327689)?action=CommitDraft&changeLog=true&include=PropDescs,Elements,Actions&language=nl-NL |
In this request you see an item-id (e.g. 08002746ec2ea1e9a75c9b650856a8a3.327689). Copy the ID and add it to your basic end-user URL so you have something like this:
Open the URL and see what happens…There is our Default-form with a bright shining ‘Delete’ button!
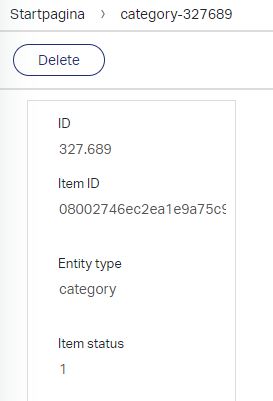
And that is the end of our low-code cycle for low-code-development, validation, publication and testing (with creation and deletion). This cycle will continue till a release to ‘Production’ moments where we want to package out solution, but that will be covered in another post.
This gives us a nicely earned ‘DONE’ and we will continue our AppWorks journey in the next post. See you next time and have a nice day.
Ohw…And don’t forget to subscribe to get updates on the activities happening on this site.


